
Choosing the right brush can make or break your acrylic nail results. If you are new to nail art or a seasoned technician, this acrylic nail brush size guide helps you pick the perfect tool every time. So, let’s dive in and clear up the confusion once and for all.
Many beginners grab the wrong brush size and then wonder why their acrylic beads look uneven or messy. The good news is that brush sizes follow a simple numbering system. Once you understand it, everything clicks into place fast.
In addition, the right brush size saves you time and product. It also makes your work look more professional and polished. Therefore, every nail artist needs to understand brush sizes before buying a new set.
What Is an Acrylic Nail Brush?
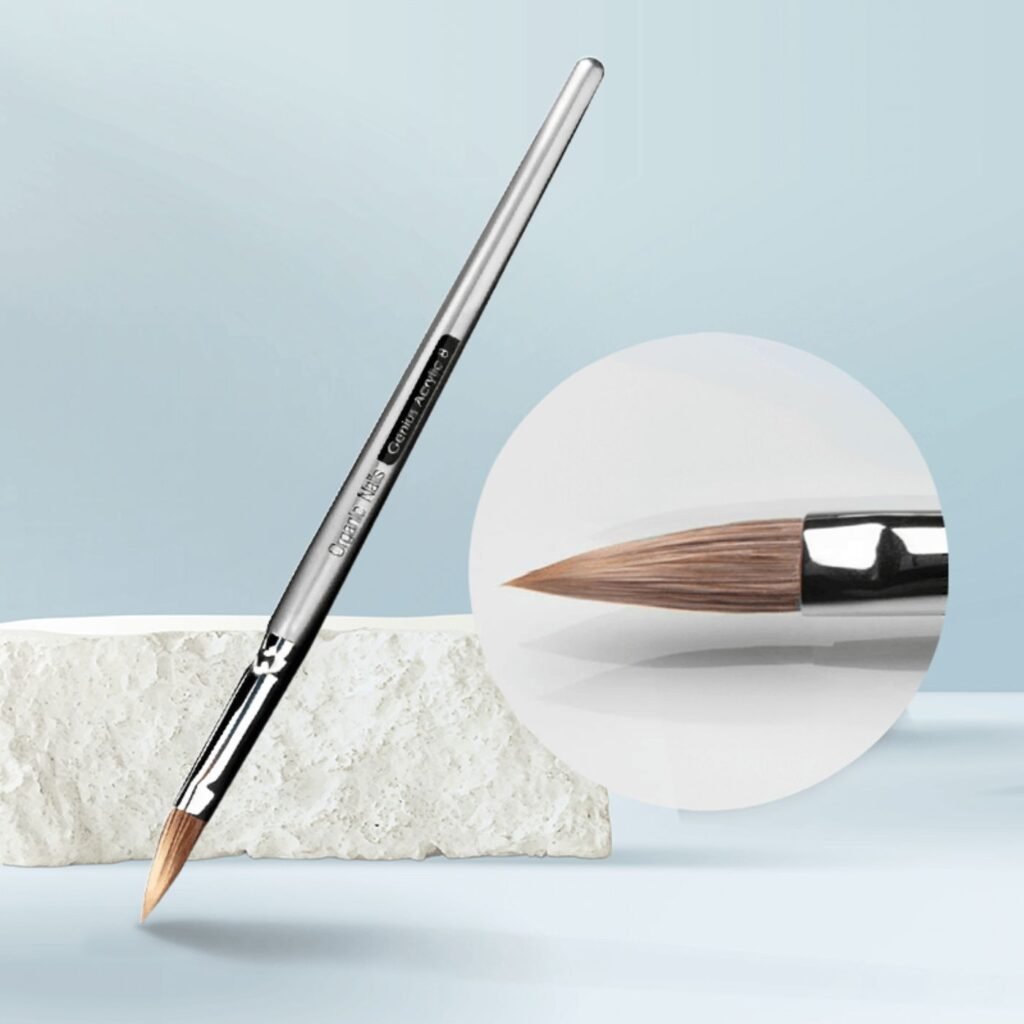
An acrylic nail brush picks up liquid monomer and powder to create the acrylic bead. You press this bead onto the nail and shape it into the desired form. Most brushes use kolinsky sable hair, which holds the bead well and stays flexible during application.
There are two main brush shapes oval and flat. Oval brushes suit general sculpting, while flat brushes work great for precise work and nail art designs. However, the brush shape matters less than the size when you are just starting out.
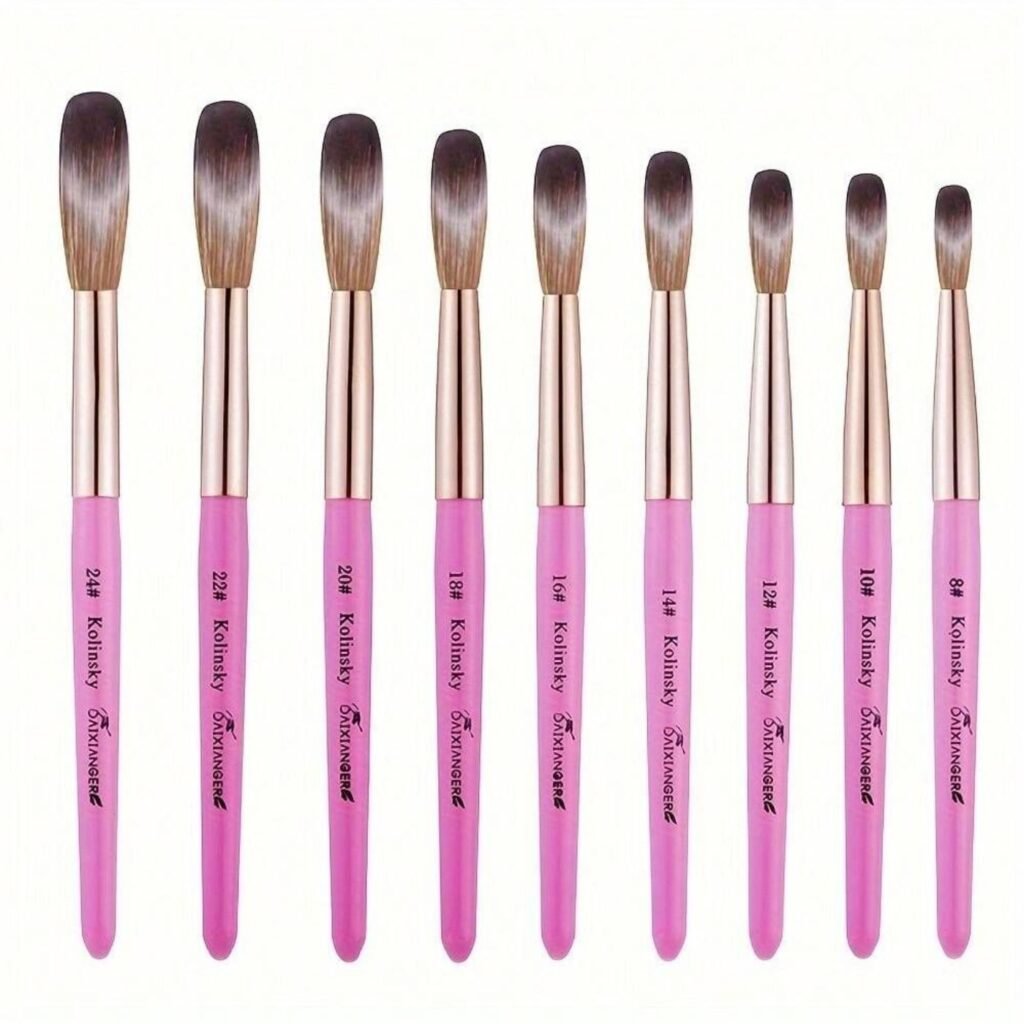
Moreover, brush quality affects how much monomer you pick up. A cheap brush may shed hairs or lose its shape quickly. Therefore, always invest in a good kolinsky acrylic brush from a trusted brand.
Why Brush Size Matters for Acrylic Nails
Brush size directly controls how much acrylic product you pick up at once. A small brush picks up a tiny bead, which suits detailed work. A large brush picks up more product, which speeds up full nail coverage.
Also, the wrong size slows you down. For example, using a size 4 brush on a full nail set makes the process take twice as long. On the other hand, a size 20 brush feels too heavy and hard to control for nail art details.
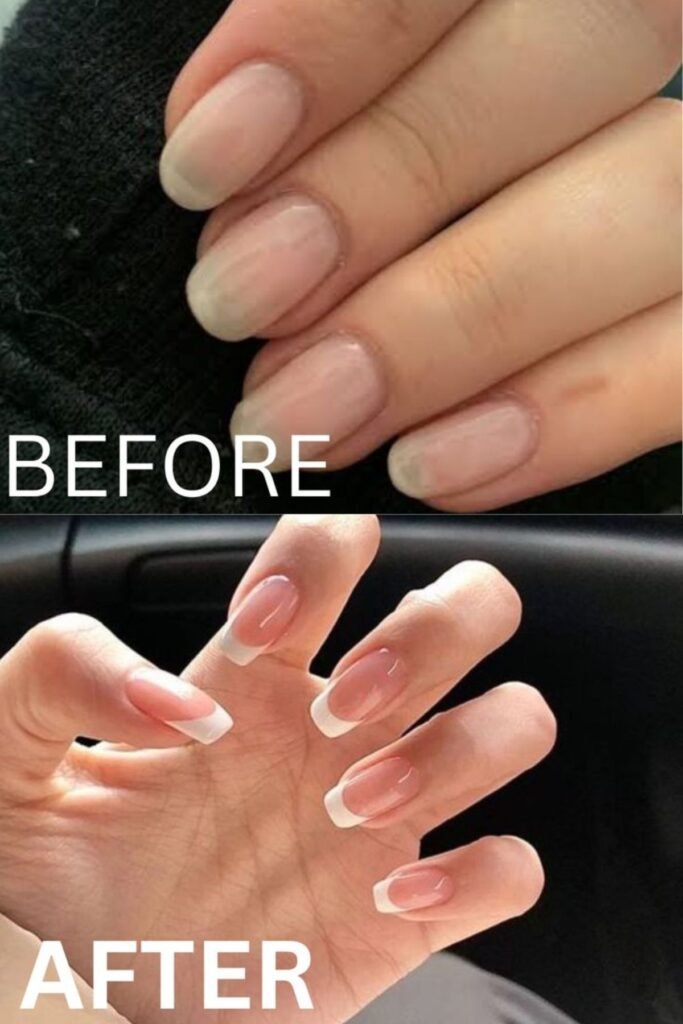
Furthermore, the size affects your finishing quality. A brush that matches your nail size gives you smoother, more even results. So, matching the brush size to your nail length and client type is always the smart move.
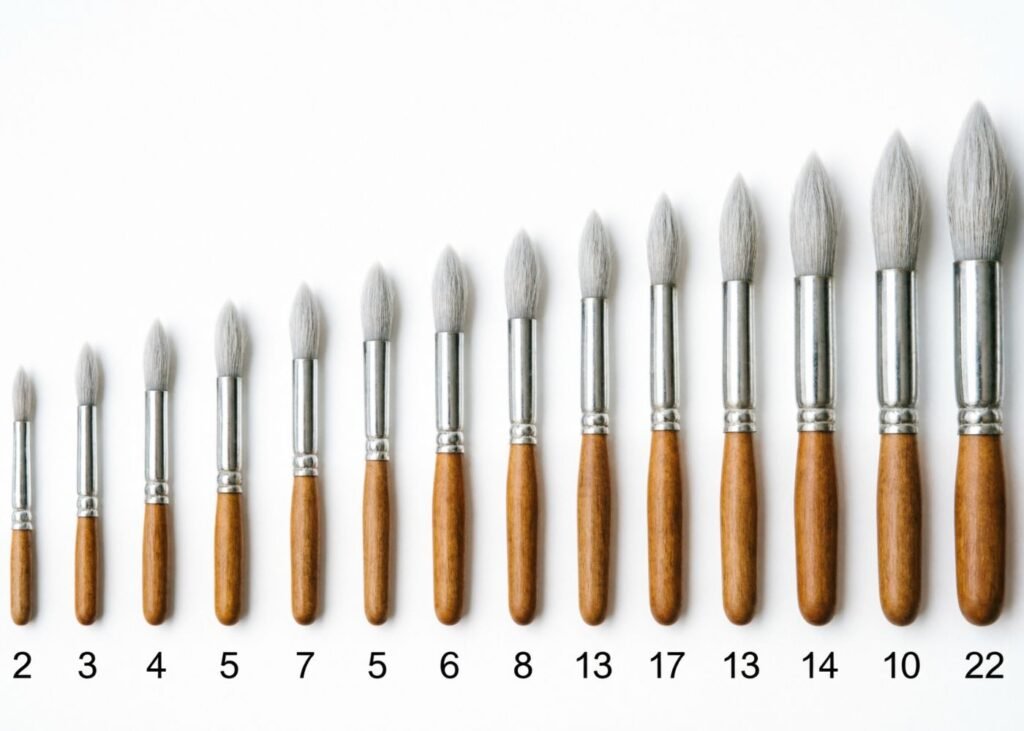
Complete Acrylic Nail Brush Size Guide
Here is a full breakdown of the most common acrylic nail brush sizes. Use this table to find the best match for your needs:
| Brush Size | Best For | Skill Level | Coverage |
| Size 2–4 | Nail art details, micro designs | Advanced | Very small area |
| Size 6 | Fine detailing, nail art accents | Intermediate–Advanced | Small area |
| Size 8 | Beginner full nail sets | Beginner | Small–medium area |
| Size 10 | Standard nail sets, everyday use | Beginner–Intermediate | Medium area |
| Size 12 | Average nail length, salon work | Intermediate | Medium area |
| Size 14 | Longer nails, faster coverage | Intermediate–Pro | Medium–large area |
| Size 16 | Salon professionals, speed sets | Professional | Large area |
| Size 18 | Pro technicians, XL nails | Professional | Large area |
| Size 20–22 | Competition nails, extensions | Expert | Very large area |
As you can see, sizes increase from tiny detail brushes to large coverage brushes. Next, you will learn which size fits your current skill level best.
How to Choose the Right Brush Size for Your Skill Level
Beginners should start with a size 8 nail brush. This size gives you the most control over your acrylic bead. Because the brush is small, you place product slowly and reduce mistakes. Also, size 8 is very forgiving when you are still learning your liquid-to-powder ratio.
Intermediate artists work well with sizes 10 to 14. These brushes allow faster coverage without losing control. Moreover, they suit most client nail lengths, so you spend less time repositioning the brush during a set.
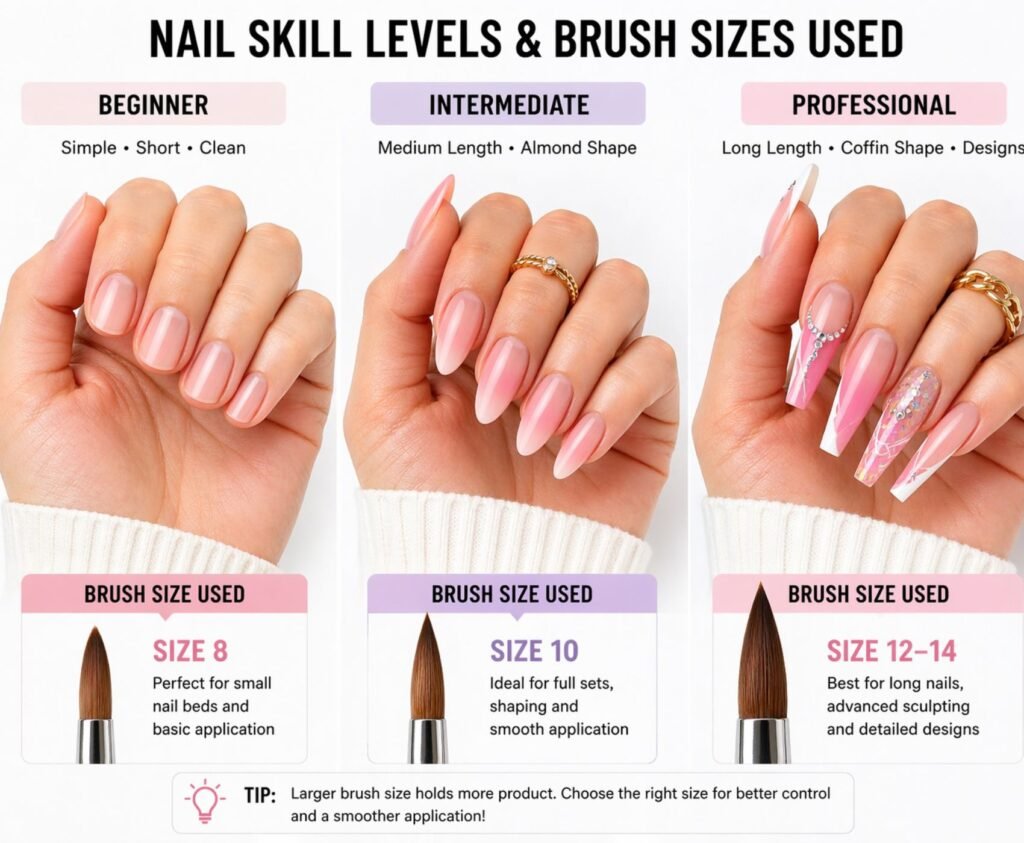
Professional technicians often prefer sizes 16 to 20. These larger brushes pick up bigger beads and cover the nail in fewer strokes. As a result, service time drops, and you can handle more clients per day. However, you need strong technique before moving up to these sizes.
In addition to skill level, also consider your client’s natural nail size. Clients with small nail beds need a smaller brush, even if you are an advanced artist. So, always match the brush size to the nail, not just your skill level.
Tips to Maintain Your Acrylic Nail Brush
A good brush lasts for months if you take care of it properly. First, always clean your brush after each use with monomers. Dip the brush into clean monomer and gently wipe it on a clean lint-free cloth. Never let the product dry and harden inside the bristles.
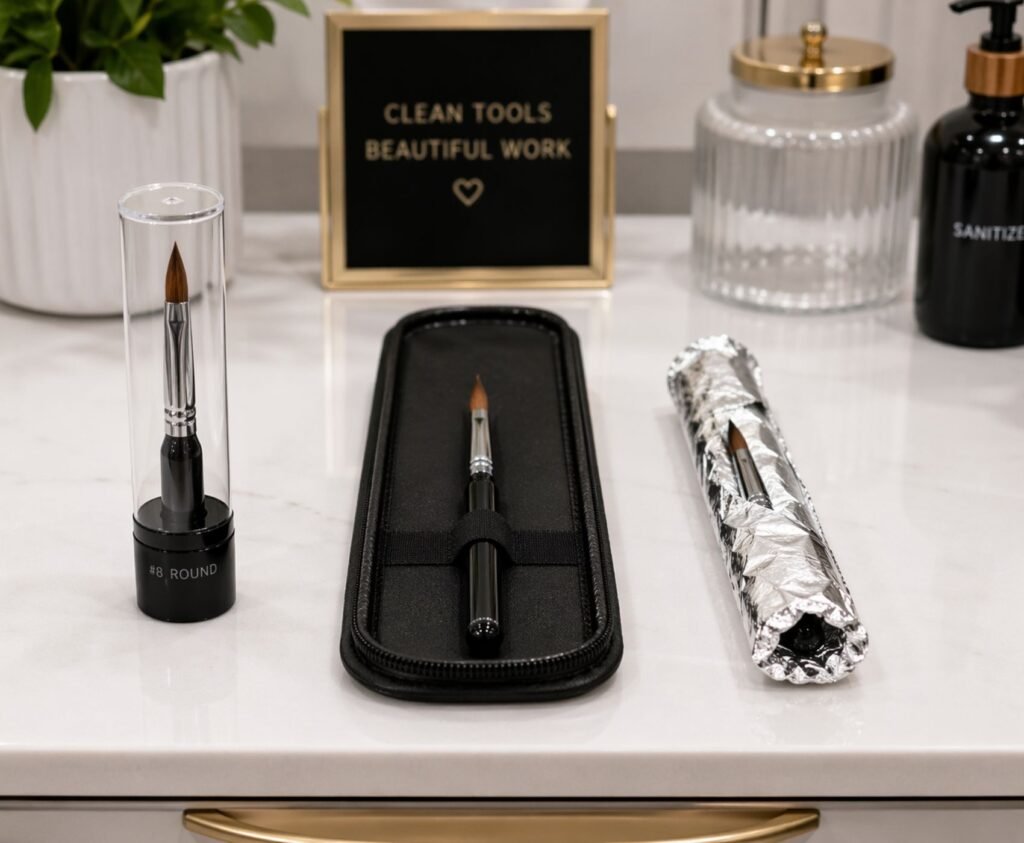
Also, store your brush flat or in a brush cap. Standing it upright can bend the bristles permanently. Moreover, keep the brush away from UV light because UV light can damage the natural hair.
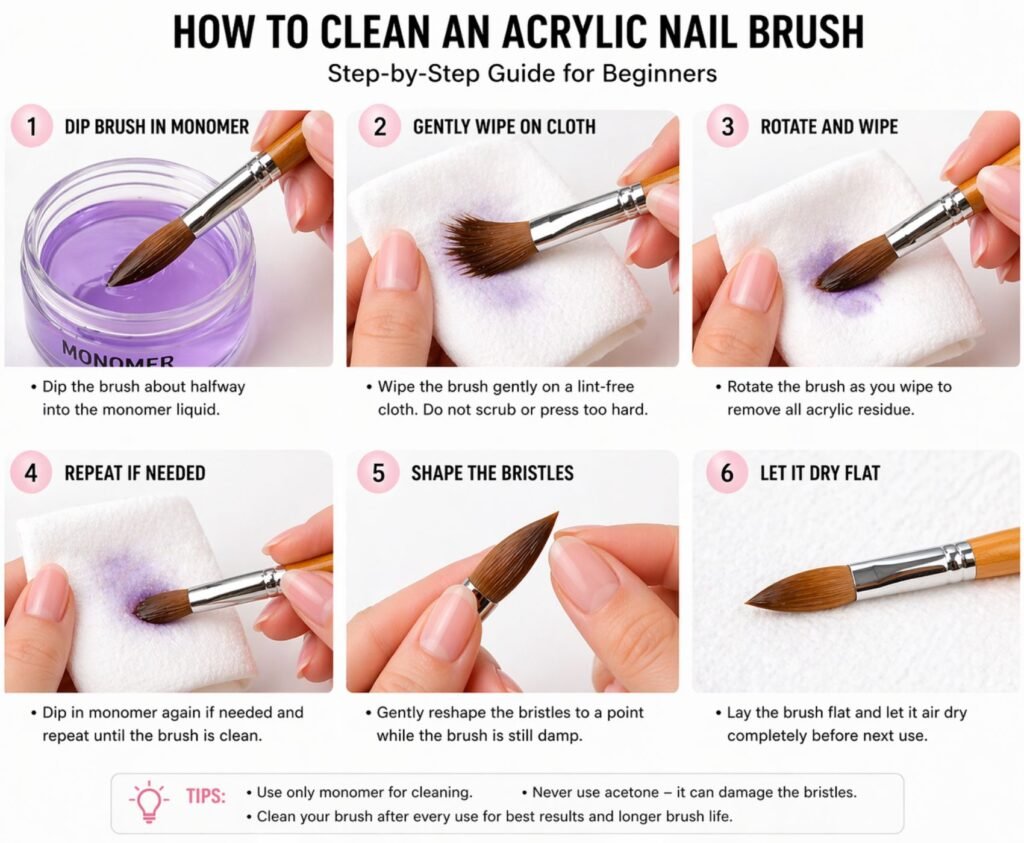
In addition, reshape the bristles gently while they are still wet. This keeps the brush tip pointed and ready for precise work. Furthermore, never use acetone to clean your brush because it breaks down the glue holding the bristles together.
Finally, replace your brush when it splays or loses its fine tip. A damaged brush affects your work quality no matter how skilled you are. Therefore, treat your brush as the most important tool in your nail kit.
Conclusion
Now you have a complete acrylic nail brush size guide to help you choose with confidence. Start with size 8 if you are new, move up to size 12 for everyday salon work, and go larger as your skills grow. Also, always invest in a quality kolinsky brush and clean it after every use.
In addition, remember to match the brush size to the nail size for the best results. With the right brush in hand, your acrylic sets will look cleaner, last longer, and take less time. So, pick your size, practice daily, and enjoy the process.
FAQs
Q: What size acrylic nail brush is best for beginners?
A: Beginners should start with a size 8 brush because it offers the most control during application.
Q: What is the most popular acrylic nail brush size used in salons?
A: Size 12 is the most popular salon choice because it covers most natural nail lengths quickly and efficiently.
Q: Can I use a flat acrylic brush instead of an oval one?
A: Yes, flat brushes work great for precise nail art and zone application, especially on longer nail extensions.
Q: How do I clean my acrylic nail brush properly?
A: Wipe the brush on a lint-free cloth dipped in monomer after every use to prevent product buildup.
Q: Is a kolinsky acrylic brush better than a synthetic one?
A: Yes, kolinsky brushes hold a better bead shape and last longer than most synthetic alternatives.