
Have you ever looked at beautiful, long nails and wished you could get the same look without spending a fortune at the salon? A good acrylic nail kit makes that dream completely possible. In this guide, you will learn exactly what an acrylic nail kit includes, how to use it safely, and how to pick the right one for your skill level. Whether you are a total beginner or someone who wants to upgrade their nail game, this article covers everything you need.

What Is an Acrylic Nail Kit and What Does It Include?
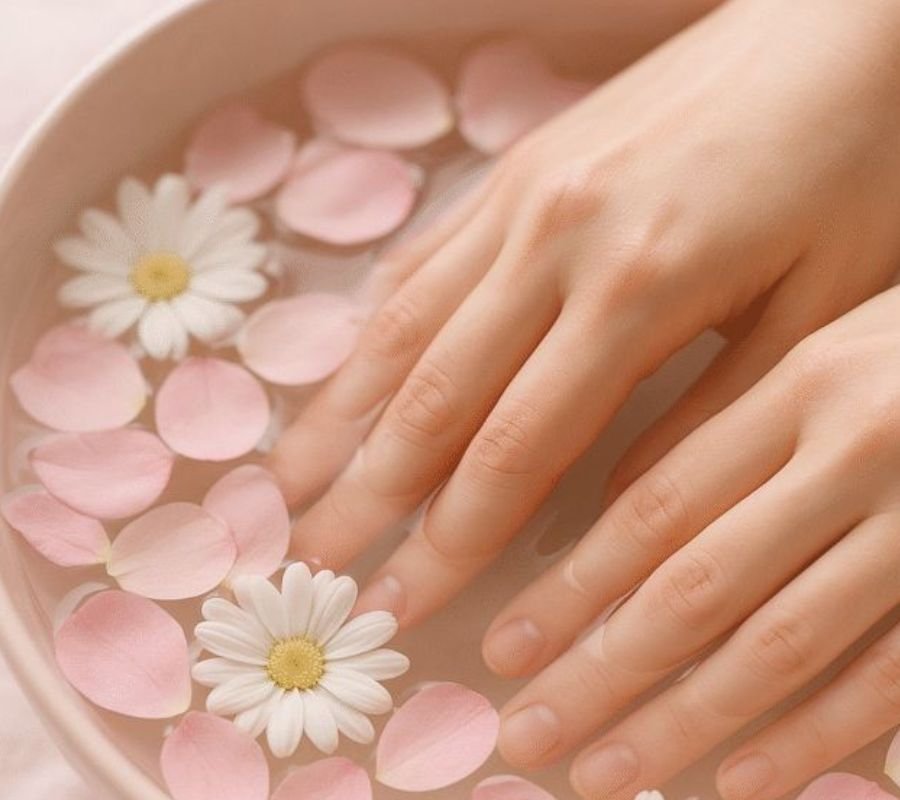
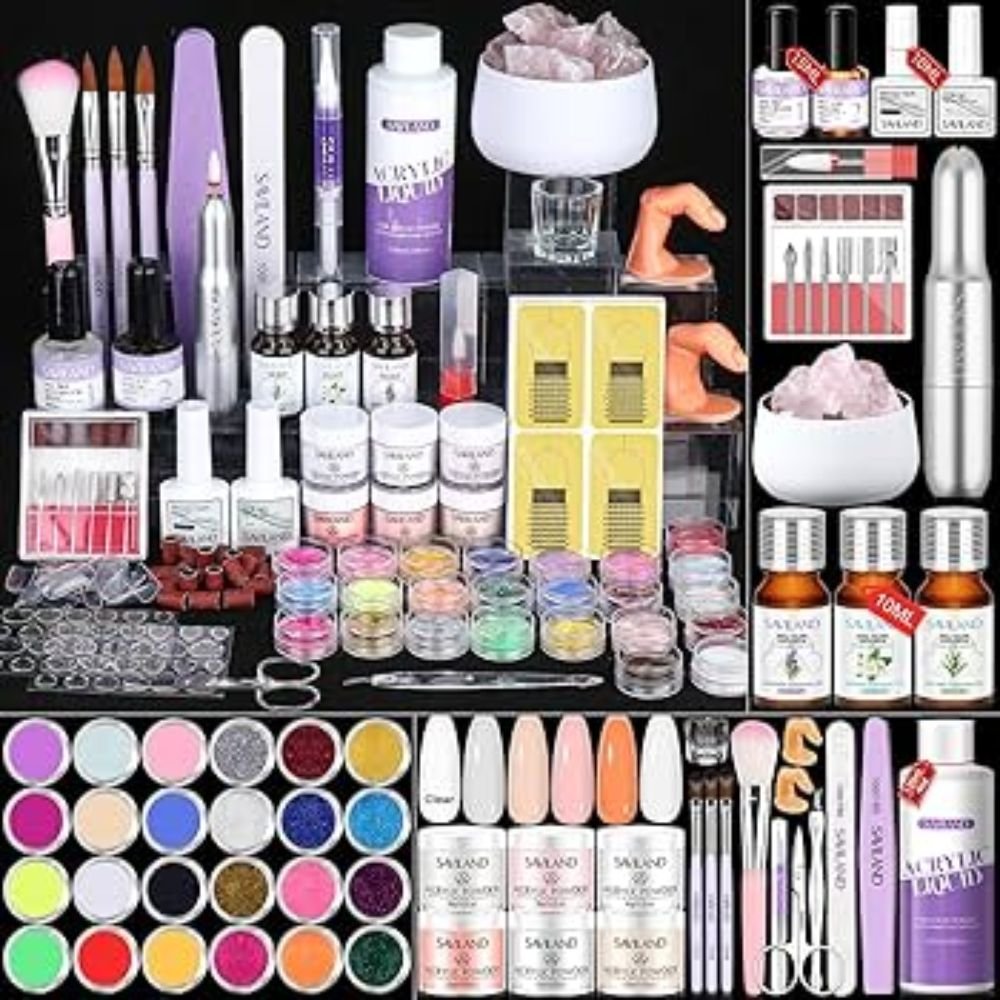
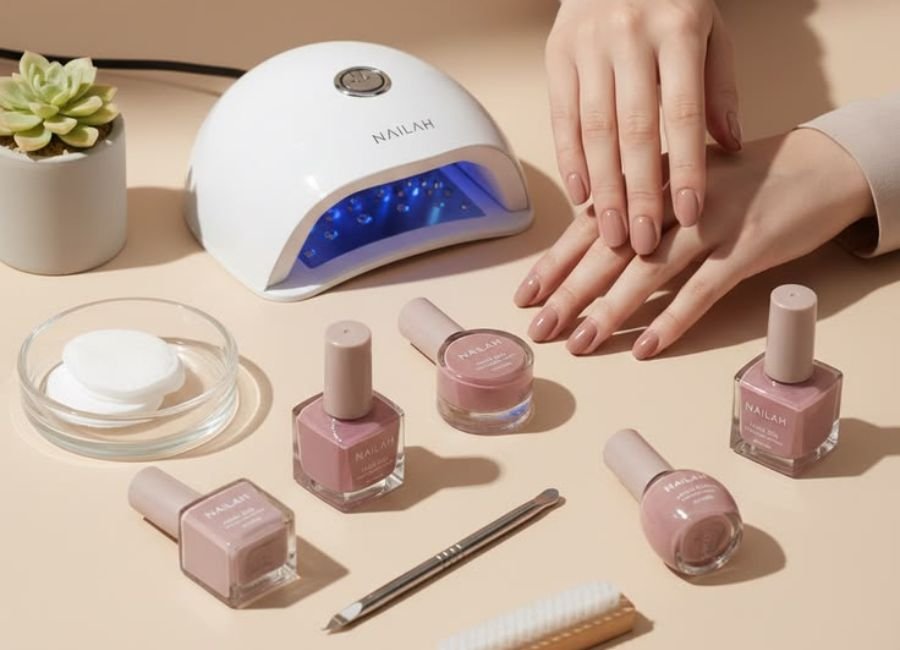
An acrylic nail kit is a complete set of tools and products that lets you create long, strong, and beautiful nails at home. Instead of visiting a nail technician every few weeks, you can do the same work yourself. Most people are surprised by how much comes inside a single kit.
Key Items You Will Find in a Standard Kit
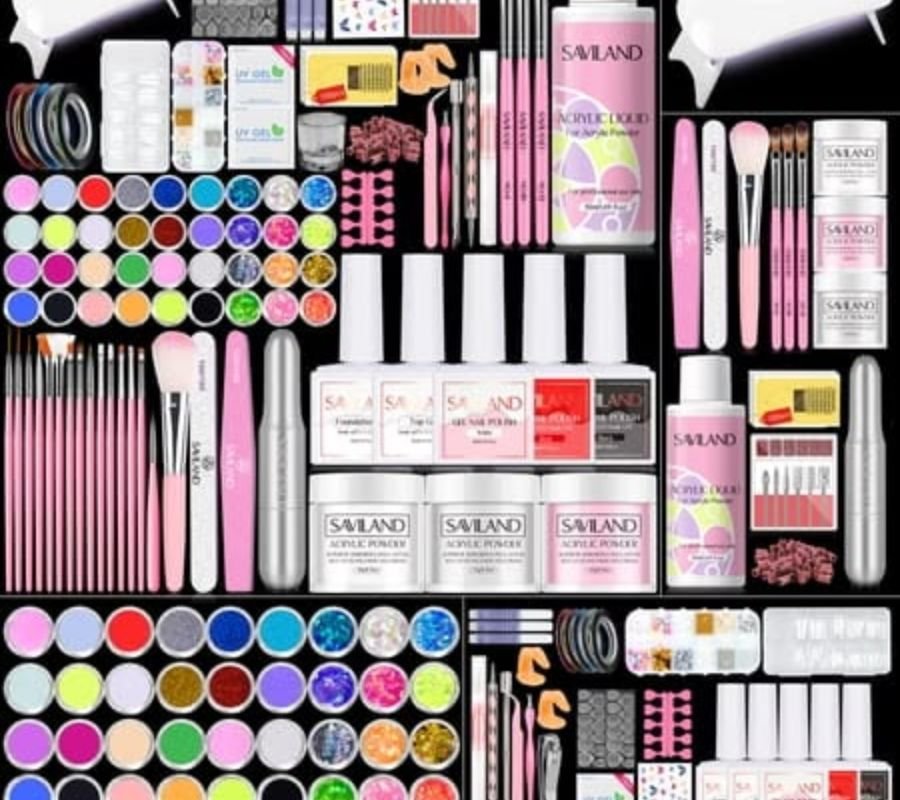
A quality acrylic nail kit typically contains the following items:
- Nail powder This is the colored or clear acrylic powder that forms the base of your nail extension.
- Nail liquid monomer You mix this liquid with the nail powder to create the acrylic paste.
- Nail brush A special brush picks up the acrylic mixture and applies it to your nails.
- Nail tips These are the plastic extensions that add length to your natural nails.
- Nail primer This product prepares your natural nail surface so the acrylic sticks properly.
- Nail file and buffer These tools shape and smooth the finished nail.
- Nail glue This holds the nail tips in place before you apply the acrylic.
- Dehydrator This removes oil and moisture from your natural nail before application.
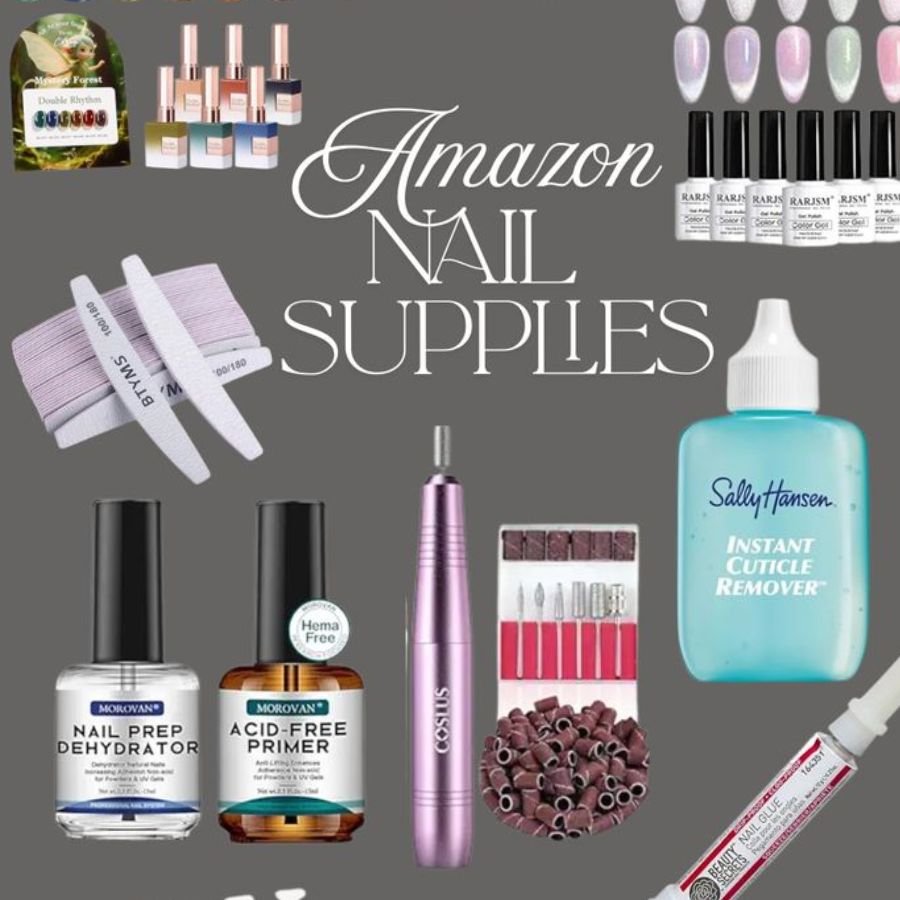
In addition, some kits also include a small UV or LED lamp, nail forms, and extra accessories. However, the items listed above are the core essentials you always need.
Benefits of Using an Acrylic Nail Kit at Home
Many people still think acrylic nails are only for salons. That is simply not true anymore. Using an acrylic nail kit at home comes with several real advantages.
Save Money Every Month
Salon visits for acrylic nails can cost anywhere from $40 to $100 each time. For example, if you visit the salon twice a month, you spend up to $200 monthly. On the other hand, a good nail extension kit costs around $20 to $50 and lasts for many sessions. Therefore, the savings add up very quickly.
Enjoy Full Creative Control
When you do your own nails, you choose the shape, length, and color. You can try nail art designs, mix different nail powder shades, and experiment freely. Most importantly, you work at your own pace without feeling rushed.

Convenience at Any Time
Furthermore, you no longer need appointments. You can do your nails on a Sunday morning, late at night, or whenever it fits your schedule. This level of convenience is something a salon simply cannot offer.
How to Use an Acrylic Nail Kit Step by Step
Now that you know the benefits, let us walk through the actual application process. Following these steps carefully gives you the best results.
Step 1 :Prepare Your Natural Nails
First, remove any old polish from your nails completely. Then, trim and file your natural nails to an even length. Next, push back your cuticles gently using a cuticle pusher. After that, buff the surface of each nail lightly to remove shine. Finally, apply the dehydrator and let it dry for about 60 seconds.
Step 2 :Apply Nail Tips
Choose nail tips that match the width of each natural nail. Apply a small drop of nail glue to the inside of each tip. Then, press each tip firmly onto the end of your natural nail at a slight angle. Hold it for about 10 seconds. Once all tips are in place, trim them to your desired length with nail clippers.
Step 3 :Apply Nail Primer
Apply a thin layer of nail primer to each nail. This step is important because it helps the acrylic bond strongly to your nail surface. Let the primer dry completely before you move on.
Step 4 :Mix and Apply the Acrylic
Dip your nail brush into the liquid monomer first. Next, touch the wet brush to the nail powder. A small ball of acrylic will form on the brush. Place this ball near the base of your nail and gently spread it toward the tip. Work quickly because the acrylic sets within a few minutes. Repeat this process for all ten nails.
Step 5 :Shape and File
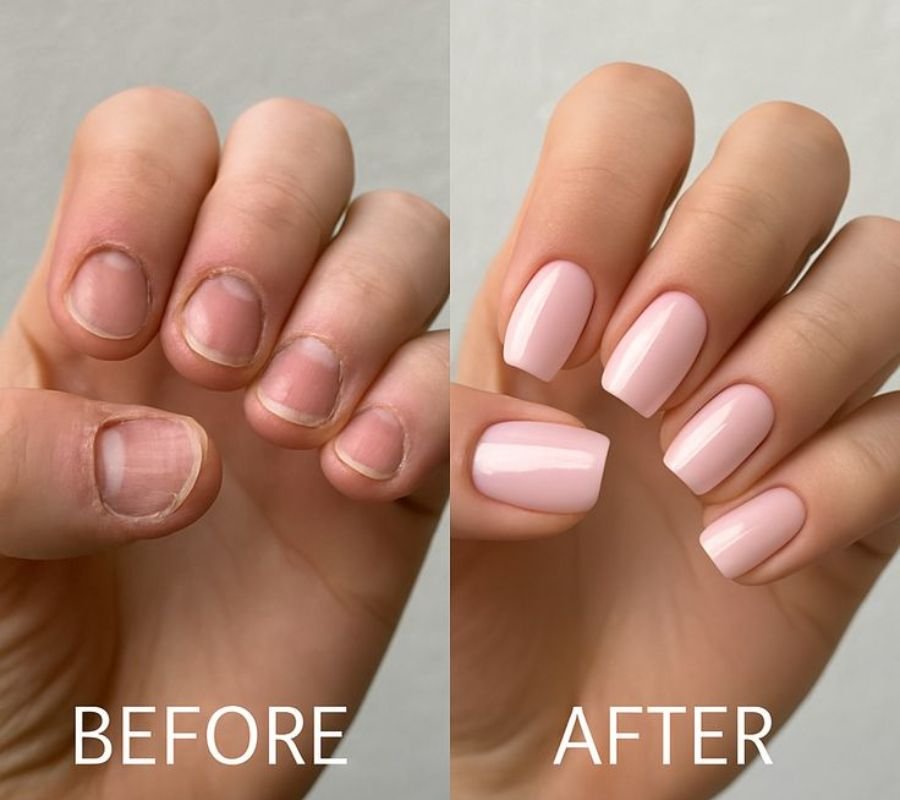
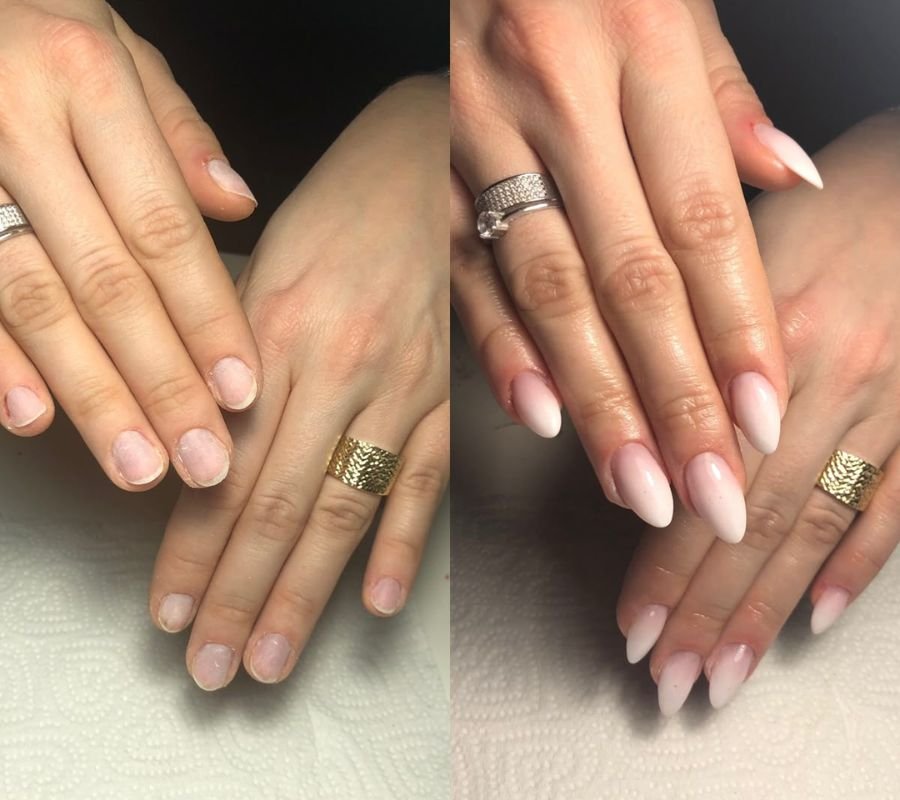
Once the acrylic dries completely, use a nail file to shape each nail. You can create a square, round, almond, or coffin shape depending on your preference. Then, buff the surface smooth with a buffer block. As a result, your nails will look polished and professional.
Step 6 :Finish with Top Coat
Finally, apply a top coat to seal everything and add shine. This also protects your acrylic nails from chipping and keeps them looking fresh longer.
Tips for Choosing the Best Acrylic Nail Kit for Beginners
Not every acrylic nail kit works the same way. In fact, choosing the wrong kit can make the process frustrating and messy. Here are some practical tips to help you pick the right one.
Look for a Complete Kit
Always choose a kit that includes every essential item. Therefore, look for one that contains nail powder, liquid monomer, nail tips, a nail brush, primer, and files. Buying individual items separately costs more and creates confusion.
Check the Quality of the Nail Brush
The nail brush is one of the most important tools in any nail extension kit. A good brush holds the acrylic ball firmly and spreads it smoothly. Look for a brush with fine, firm bristles and a comfortable handle.
Read Customer Reviews
Before buying, always read verified customer reviews. Other users will tell you honestly whether the kit works well for beginners. In addition, reviews often highlight any missing items or quality issues that the product description does not mention.
Avoid Very Cheap Kits
While saving money feels great, extremely cheap kits often use low-quality liquid monomers that smell very strong and irritate the skin. Therefore, spend a little more on a mid-range kit from a trusted brand. Your nails and your lungs will thank you for it.
Common Mistakes to Avoid When Using an Acrylic Nail Kit
Even experienced nail enthusiasts make mistakes sometimes. However, knowing these common errors ahead of time helps you avoid them easily.
Skipping Nail Prep
Many beginners skip the preparation steps because they seem unnecessary. This is a big mistake. Without proper prep, the acrylic lifts quickly and peels off within days. Always dehydrate and prime your nails before applying any product.
Using Too Much Liquid Monomer
More liquid does not mean better acrylic. In fact, using too much monomer makes the mixture too wet and difficult to control. The right consistency looks like a smooth, slightly shiny ball that holds its shape without dripping.
Applying Thick Layers
Thick acrylic layers crack more easily and look unnatural. Instead, apply thin, even layers and build them up gradually. This technique gives your nails strength without bulk.
Not Letting Each Step Dry Fully
Rushing through the process leads to weak, uneven nails. Therefore, always wait for each product primer, acrylic, and top coat to dry completely before moving to the next step. Patience truly makes a difference here.
Filing Too Aggressively
Aggressive filing thins out the acrylic and weakens the nail. Use a gentle back-and-forth motion and check the shape regularly as you file. This way, you avoid removing too much material at once.
Frequently Asked Questions
Q1: How long do acrylic nails from a kit last at home? With proper application and care, acrylic nails done at home can last two to three weeks before they need a fill.
Q2: Can a complete beginner use an acrylic nail kit easily? Yes, most beginner-friendly kits include detailed instructions, and with a little practice, anyone can master the process.
Q3: Is an acrylic nail kit safe for natural nails? When you apply and remove the acrylic correctly, it does not damage your natural nails significantly.
Q4: What is the difference between an acrylic nail kit and press-on nails? Acrylic nail kits create custom, durable extensions using liquid and powder, while press-on nails are pre-made and simply glued on temporarily.
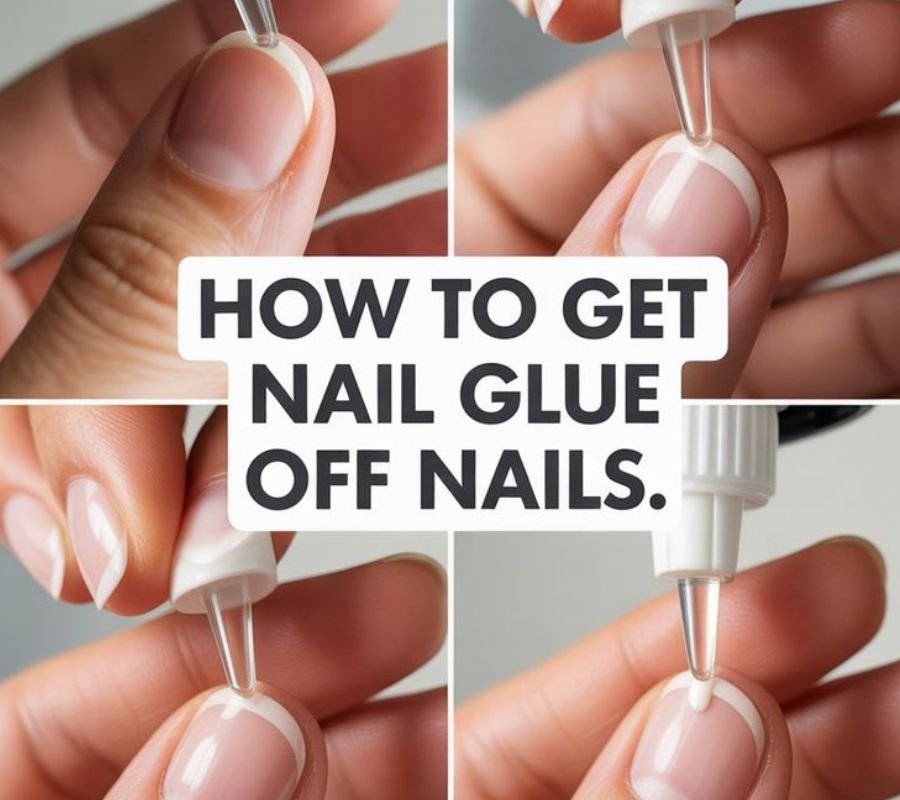
Q5: How do I remove acrylic nails done at home? You soak your nails in acetone for 15 to 20 minutes, then gently slide off the softened acrylic using a cuticle pusher.