
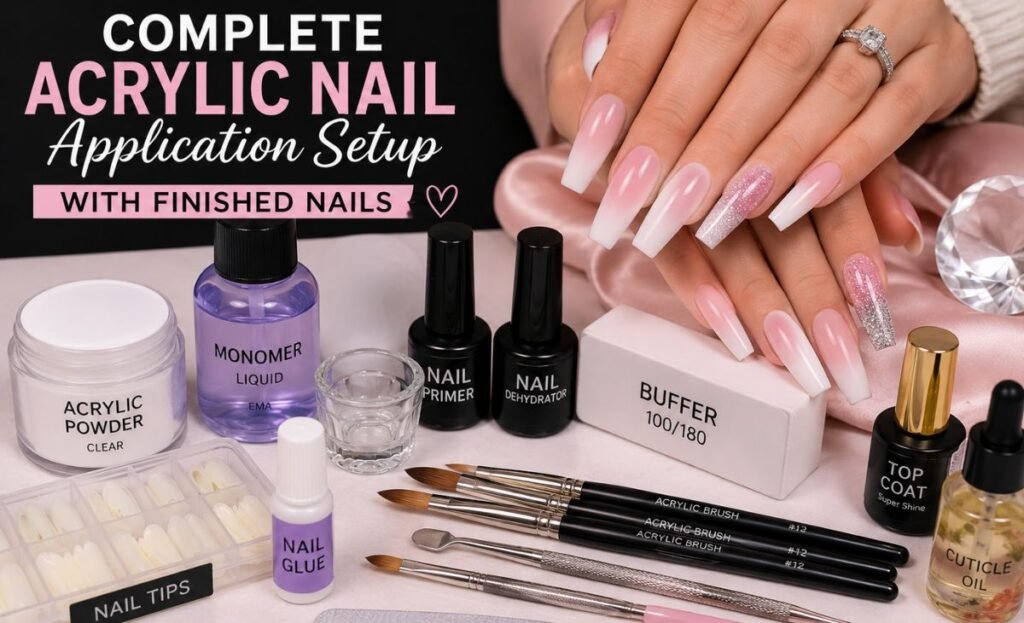
Acrylic nails remain one of the most popular nail enhancement options because they look beautiful, last for weeks, and allow endless design possibilities. If you’ve ever wondered how to do acrylic nails, you’re not alone. Many beginners want to learn the process so they can save money, practice their skills, and create salon-style nails at home.
The good news is that learning how to do acrylic nails is easier than many people think. With the right tools, proper preparation, and a little patience, you can create strong and attractive acrylic nails from the comfort of your home. In this guide, you’ll learn every step, from preparing your natural nails to applying the final top coat.
What Are Acrylic Nails?
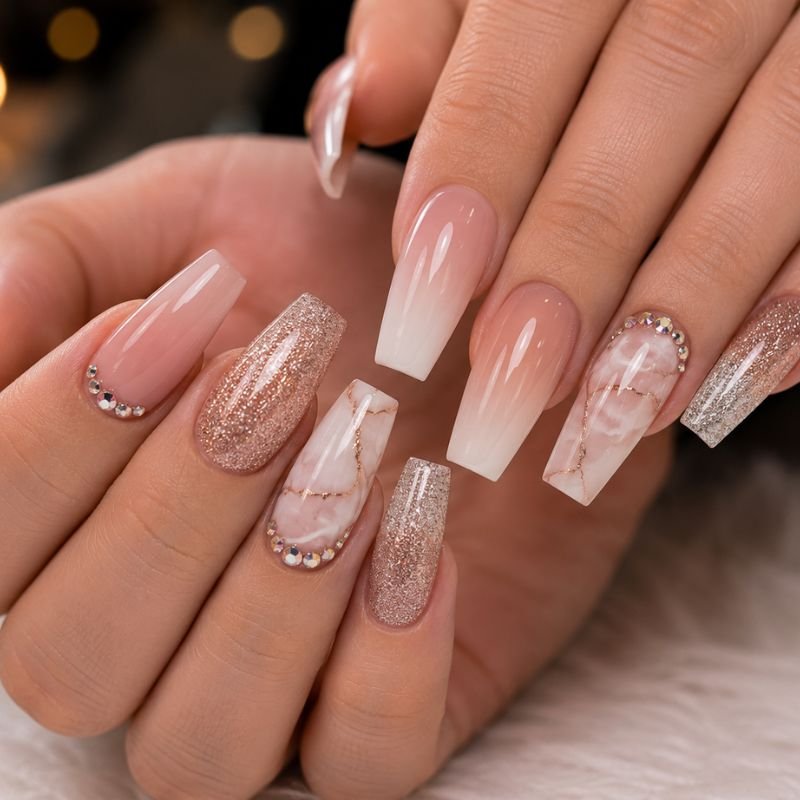
Acrylic nails are artificial nail enhancements created by combining acrylic powder and liquid monomer. When these products mix, they form a moldable bead that hardens into a durable layer over the natural nail or nail tip.
Many people choose acrylic nails because they:
- Add length and strength
- Last longer than regular nail polish
- Support countless nail art designs
- Create a polished appearance
- Work well for different nail shapes
Additionally, acrylic nails help people who struggle with weak or brittle natural nails.
Tools and Supplies Needed
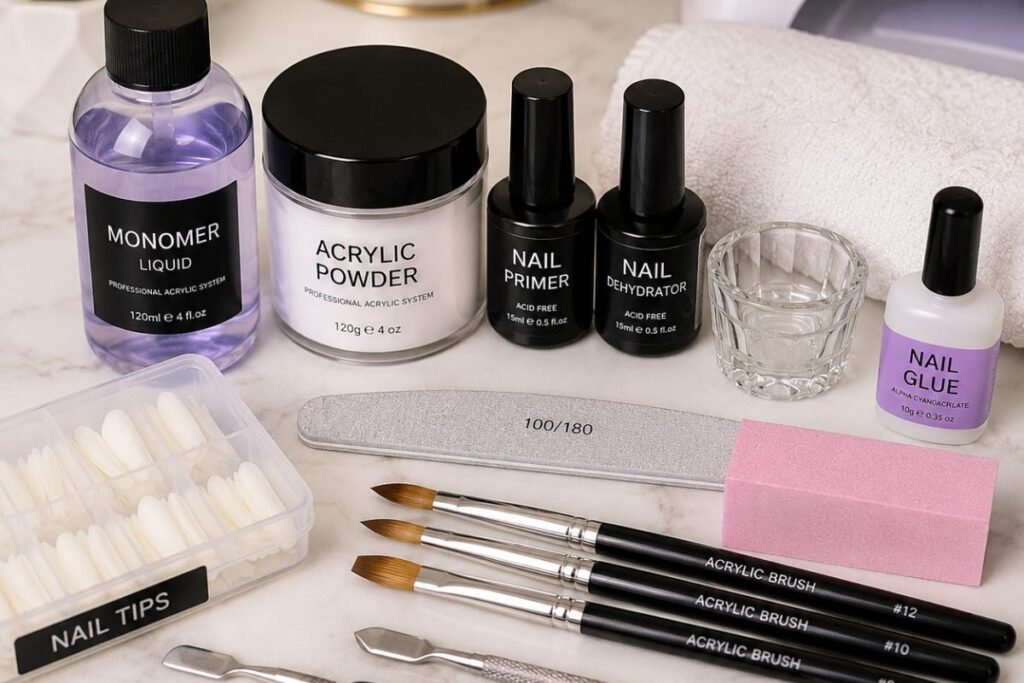
Before you start, gather all the necessary supplies.
Essential Acrylic Nail Tools
- Acrylic powder
- Liquid monomer
- Acrylic nail brush
- Nail tips
- Nail glue
- Nail file
- Buffer block
- Cuticle pusher
- Nail clippers
- Primer
- Dehydrator
- Dappen dish
- Lint-free wipes
- Top coat
- Cuticle oil
Each product plays an important role. Therefore, using quality tools can improve your results significantly.
How to Do Nails: Step-by-Step Guide
Step 1: Prepare Your Natural Nails
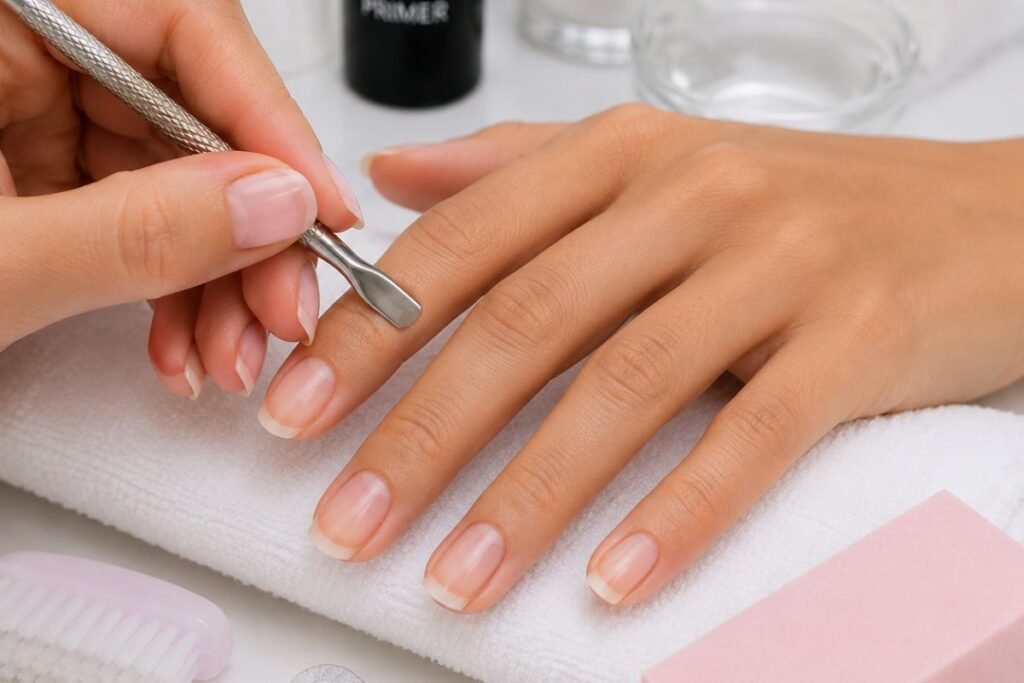
Preparation creates the foundation for long-lasting acrylic nails.
Start by washing your hands thoroughly. Next, remove any old polish and trim your nails if necessary.
Then:
- Push back your cuticles gently.
- Trim excess cuticles if needed.
- Buff the nail surface lightly.
- Remove dust with a lint-free wipe.
Meanwhile, avoid over-buffing because this can weaken your natural nails.
Step 2: Apply Nail Tips

If you want extra length, apply nail tips.
Choose tips that match the width of each natural nail. Apply a small amount of nail glue and press the tip firmly into place.
After the glue dries:
- Trim the tips to your desired length.
- Shape them with a nail file.
- Blend the seam gently.
A smooth transition helps create a professional finish.
Step 3: Apply Dehydrator and Primer
This step improves adhesion.
First, apply a nail dehydrator to remove oils. Then apply a thin layer of primer.
Allow the primer to dry completely before moving forward. As a result, your acrylic nails will stay secure for longer.
Step 4: Mix Acrylic Powder and Liquid
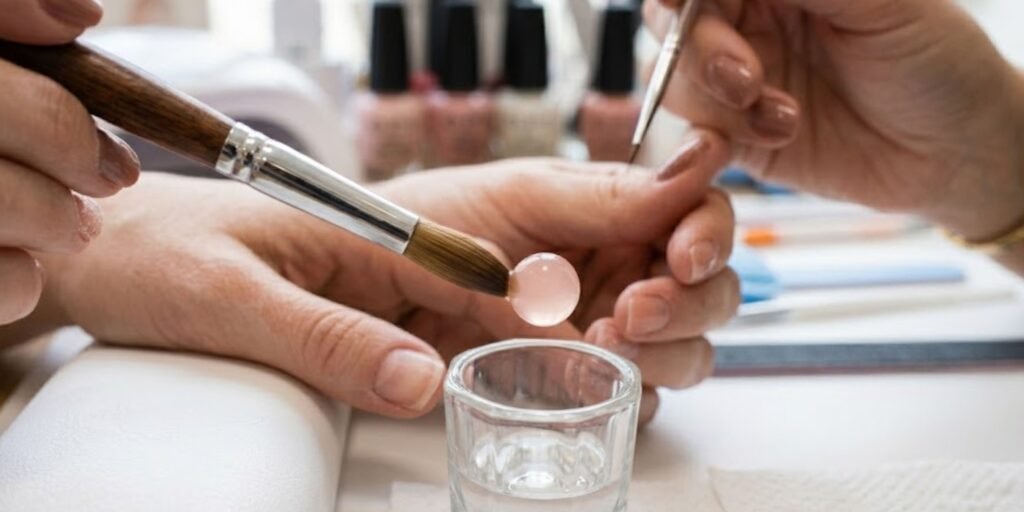
Now comes the most important part.
Pour monomer into a dappen dish. Dip your brush into the liquid and remove excess product. Then dip the brush into acrylic powder to create a small bead.
The bead should look smooth and slightly glossy. However, avoid beads that appear too wet or too dry.
Step 5: Apply the Acrylic
Place the bead near the center of the nail.
Use gentle strokes to spread the acrylic evenly. Work from the cuticle area toward the tip while maintaining a smooth surface.
Apply additional beads if needed.
Focus on:
- Even thickness
- Smooth blending
- Strong apex placement
- Clean sidewalls
Moreover, keep acrylic away from the skin to prevent lifting.
Step 6: Allow the Acrylic to Harden
The acrylic will begin hardening within minutes.
Wait until the nails feel firm before filing. You can gently tap the surface with your nail tool. A clicking sound usually indicates that the acrylic has cured properly.
Patience during this stage leads to better results.
Step 7: Shape and File the Nails
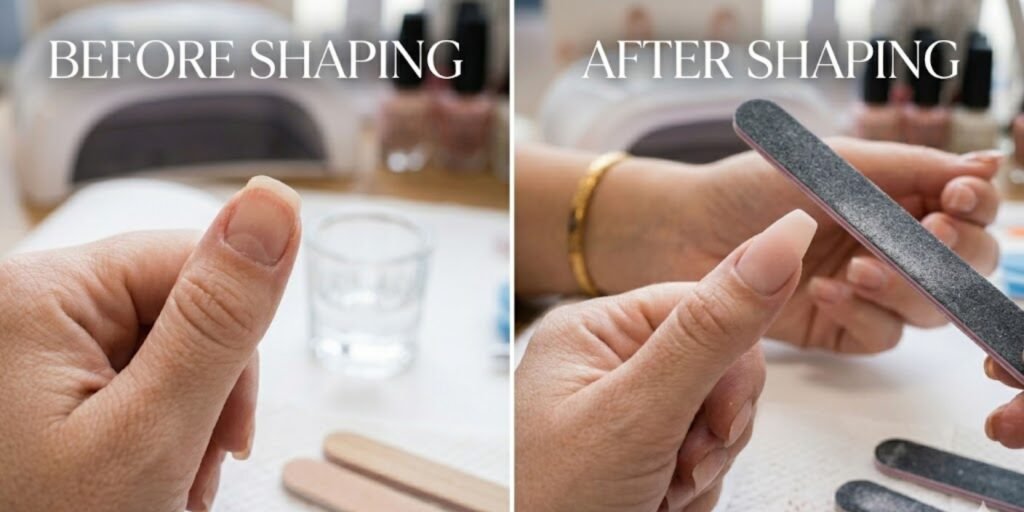
After the acrylic hardens, shape the nails according to your preference.
Popular shapes include:
- Coffin
- Almond
- Square
- Round
- Stiletto
Use a file to refine the edges and smooth the surface.
Then buff the nails until they feel smooth and even.
Step 8: Apply Polish or Nail Art
Now you can customize your nails.
Apply your favorite:
- Gel polish
- Regular polish
- French tips
- Glitter
- Nail art
For example, many beginners start with simple nude shades before trying more advanced designs.
Step 9: Finish with Top Coat
Apply a quality top coat to protect your work.
The top coat adds shine, seals the design, and helps prevent chipping.
Finally, apply cuticle oil to nourish the surrounding skin and complete the manicure.
Common Mistakes to Avoid
Many beginners make similar mistakes while learning how to do acrylic nails.
Using Too Much Product
Thick acrylic often looks bulky and unnatural.
Instead, use smaller beads and build the nail gradually.
Skipping Nail Preparation
Poor preparation leads to lifting.
Therefore, always clean, buff, and prime the nails properly.
Flooding the Cuticles
Acrylic touching the skin can cause lifting and uneven growth.
Leave a small gap around the cuticle area.
Filing Too Aggressively
Excessive filing can damage natural nails.
Use gentle pressure and focus on shaping rather than removing large amounts of product.
Rushing the Process
Many beginners hurry through applications.
However, careful work produces stronger and better-looking nails.
Expert Tips for Better Results
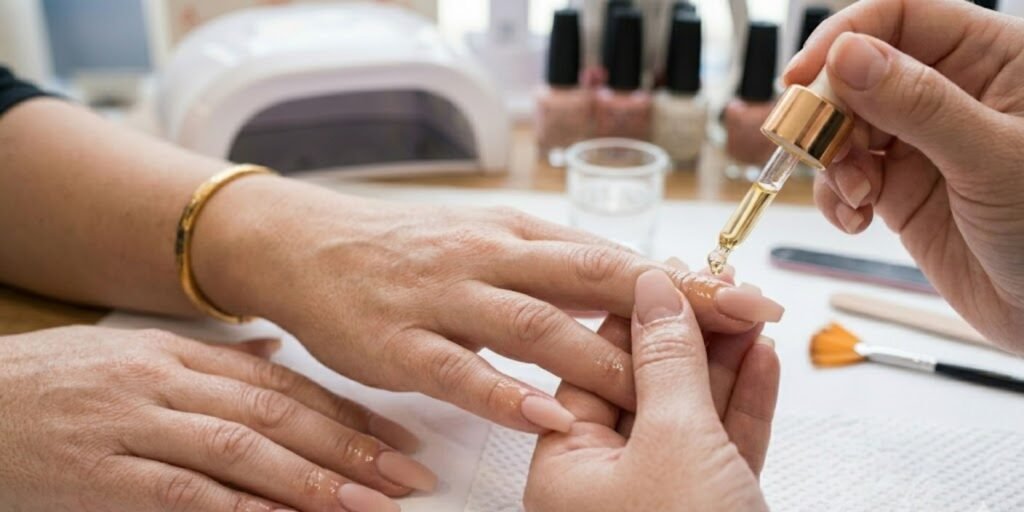
As someone practicing acrylic nail application, you’ll improve much faster with proper habits.
Practice Bead Control
Perfect bead consistency makes application easier.
Spend time practicing different liquid-to-powder ratios.
Work in a Well-Ventilated Area
Monomer has a strong smell.
Good airflow improves comfort and safety.
Keep Your Tools Clean
Clean brushes last longer and perform better.
Additionally, clean tools reduce contamination.
Use Cuticle Oil Daily
Healthy cuticles improve the overall appearance of your manicure.
Daily moisturizing also prevents dryness.
Start with Short Nails
Short acrylic nails offer better control.
Once you gain confidence, you can experiment with longer shapes.
Safety Tips for Acrylic Nail Application
Safety matters just as much as appearance.
Follow these recommendations:
- Wash your hands before application.
- Keep products away from children.
- Avoid skin contact with monomers.
- Use products according to instructions.
- Stop immediately if irritation occurs.
- Store products in a cool place.
Furthermore, never ignore signs of allergic reactions or discomfort.
How Long Do Nails Last?

Most acrylic nails last between two and three weeks before requiring a fill.
Several factors influence longevity:
- Nail growth rate
- Product quality
- Application technique
- Daily activities
- Nail care habits
Additionally, regular maintenance helps acrylic nails stay attractive for longer periods.
Many people schedule fills every two to three weeks and replace the entire set after six to eight weeks.
How to Remove Acrylic Nails Safely
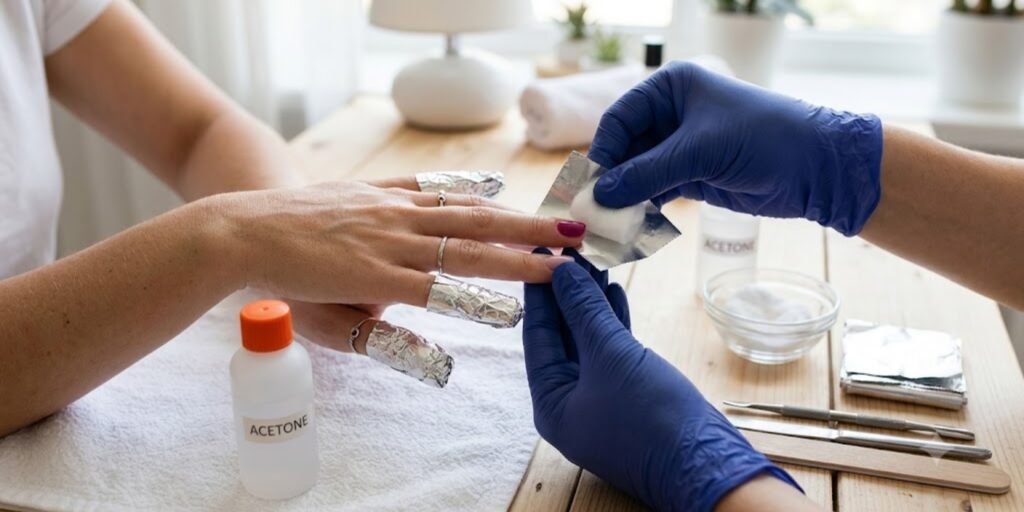
Safe removal protects your natural nails.
Step 1: Trim the Length
Cut the acrylic nails down carefully.
Shorter nails soak off faster.
Step 2: File the Surface
Remove the shiny top layer using a nail file.
This allows acetone to penetrate more effectively.
Step 3: Soak in Acetone
Place cotton soaked with acetone on each nail and wrap with foil.
Wait approximately 20 to 30 minutes.
Step 4: Gently Remove Softened Acrylic
Use a cuticle pusher to lift softened acrylic.
Never force or peel the product.
Step 5: Moisturize Your Nails
Apply cuticle oil and hand cream after removal.
This restores moisture and supports nail health.
Conclusion
Learning how to do acrylic nails takes practice, patience, and attention to detail, but the results are worth the effort. By preparing your nails correctly, using quality products, and following each step carefully, you can create beautiful acrylic nails at home. Moreover, regular maintenance and safe removal will keep your natural nails healthy. Start with simple designs, practice consistently, and enjoy improving your nail skills with every set you create.
FAQs
Q1: Can beginners learn acrylics at home?
Yes, beginners can learn acrylic nails with practice and proper tools.
Q2: How long does it take to do acrylics?
Most beginners need one to two hours for a full set.
Q3: Do nails damage natural nails?
Proper application and removal help minimize nail damage.
Q4: How often should I get acrylic fills?
Most people need fills every two to three weeks.
Q5: What is the best nail shape for beginners?
Square and round shapes usually work best for beginners.