

If you’ve ever admired someone’s perfectly shaped, chip-free nails and wondered how they do it, chances are those nails were done with acrylic. Acrylic nails acrylic application has been a go-to nail enhancement technique for decades and for good reason.
It’s durable, versatile, and gives you the freedom to wear the length and shape you’ve always wanted, even if your natural nails refuse to cooperate.
However, getting great results isn’t just about sitting in a salon chair. Understanding how acrylics work, how to care for them, and what mistakes to avoid can make a massive difference in how your nails look and how long they last. In this guide, we’ll walk you through everything you need to know from the basics all the way to expert-level tips.
What Are Acrylic Nails Acrylic, Exactly?
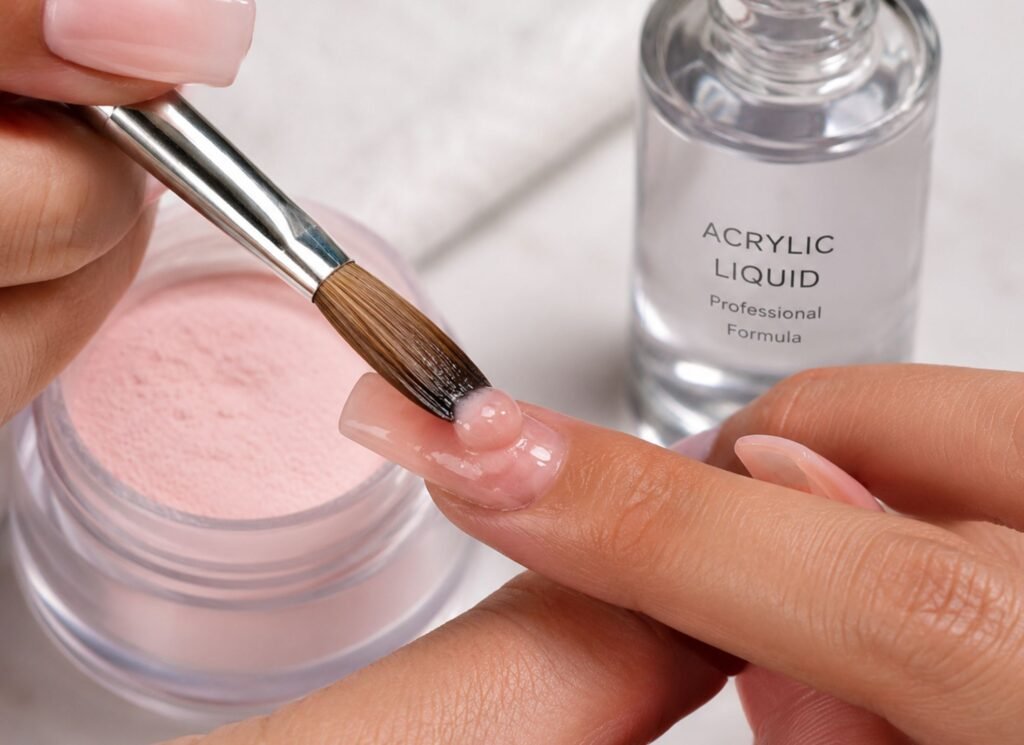
Acrylic nails are created by combining a liquid monomer with a powder polymer to form a paste-like mixture. A nail technician applies this mixture over your natural nails or nail tips, shapes it, and lets it harden in the open air. Once it sets, the result is a strong, durable nail extension that you can file, shape, and paint just like a natural nail.
The acrylic material is surprisingly tough. Moreover, it doesn’t require UV or LED lamps to cure; it hardens on its own through a chemical reaction between the liquid and powder. This is one of the key differences between acrylics and gel nails, which need lamp curing to set properly.
Stylish acrylic manicures can range from simple French tips to bold nail art designs. The material holds color well, takes nail polish beautifully, and lasts two to three weeks before a fill is needed.
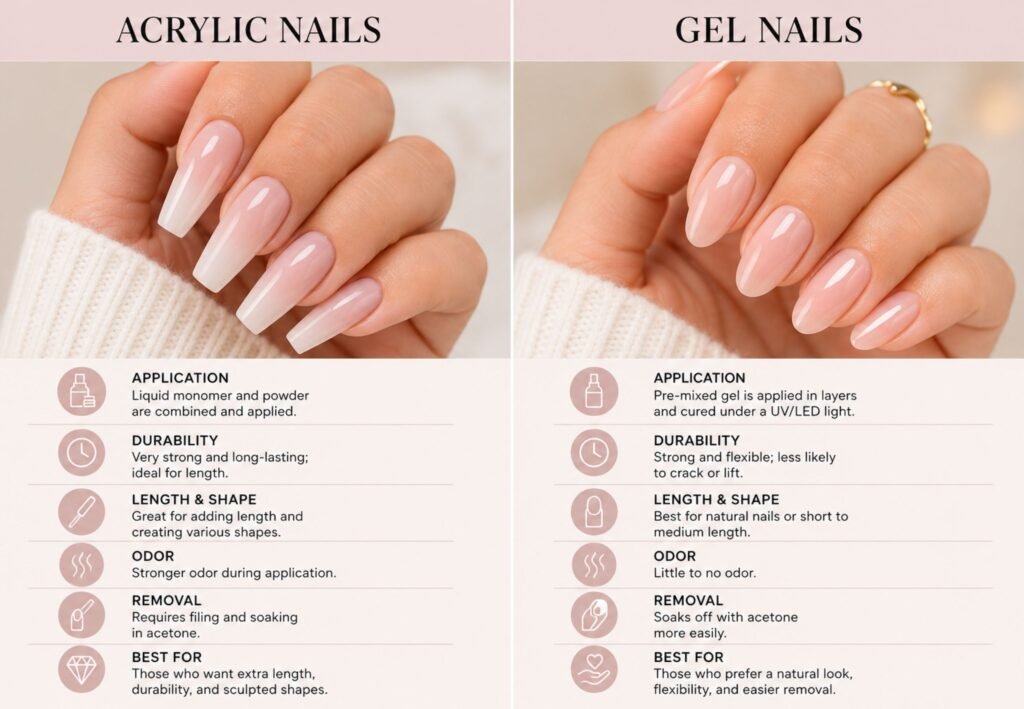
Acrylic vs. Gel Nails: Which One Should You Choose?
A lot of people confuse acrylics and gel nails. They’re both nail enhancements, but they work quite differently. Here’s a quick comparison to help you decide.
Feature Acrylic Nails Gel Nails
Curing Method Air-dries on its own Requires UV/LED lamp
Durability Very durable, less flexible Flexible, chip-resistant
Removal Soak off with acetone Soak off or peel off
Cost Generally less expensive Usually more expensive
Best For Length & strength Natural-looking finish
On the other hand, if you prioritize a more natural feel and a glossy finish without extra upkeep, gel nails might suit you better. For maximum strength and length, however, acrylics remain the go-to choice for many nail lovers.
How to Get Acrylic Nails Done: Step by Step
Whether you’re visiting a salon for the first time or just curious about the process, here’s exactly what happens during an acrylic nail appointment.
1. Nail preparation: The technician starts by pushing back your cuticles and lightly buffing the surface of your natural nails. This step helps the acrylic bond properly.
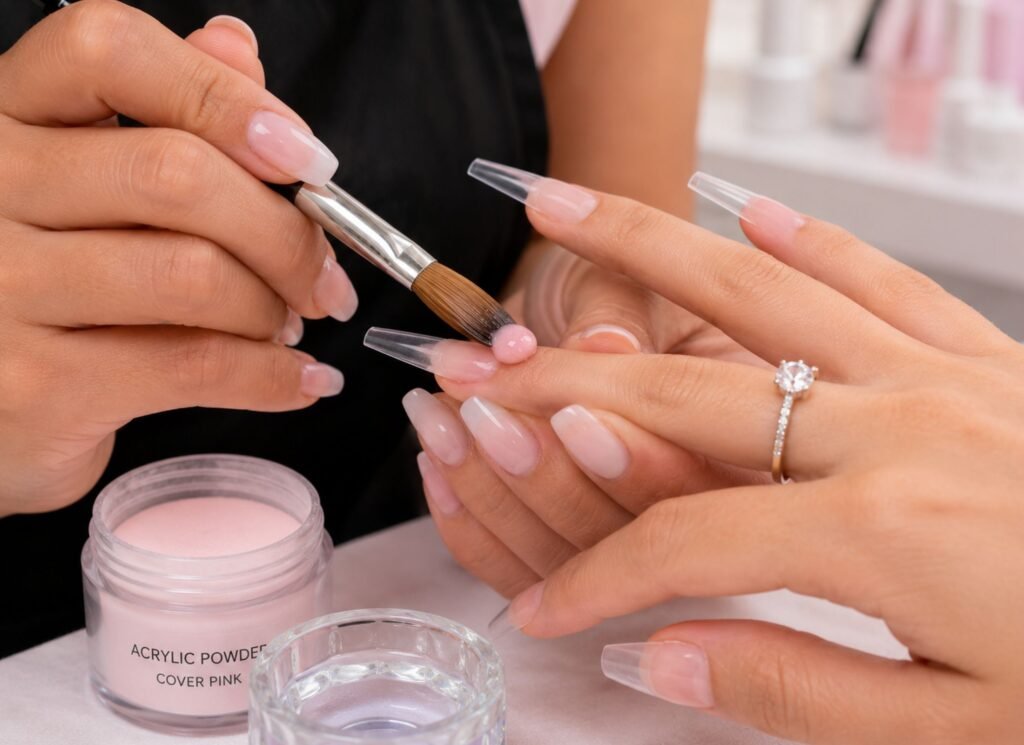
2. Tip application: If you want extra length, the technician glues nail tips onto the ends of your natural nails before applying the acrylic.
3. Acrylic application: The nail tech dips a brush into the liquid monomer, then picks up a small bead of acrylic powder. They press this onto your nail and shape it quickly before it hardens.
4. Shaping and filing: Once the acrylic sets, the technician files and shapes your nails into your desired shape square, oval, almond, stiletto, or coffin.
5. Buffing and finishing: Your nails get buffed smooth, then primed for polish. You can choose any nail polish color or finish, from classic red to a glittery party look.
Acrylic Nail Care: How to Make Them Last Longer
Getting acrylics done is one thing. Keeping them looking great is another. Good acrylic nail care is the secret behind those salon-fresh nails that seem to last forever. Here are the habits that actually make a difference.
Daily Care Tips
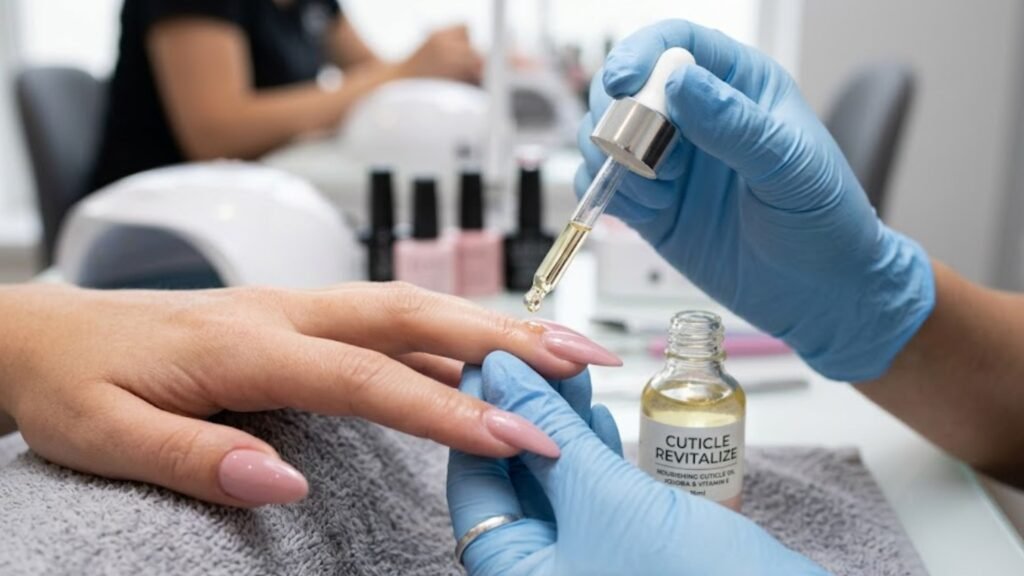
⦁ Moisturize your cuticles every day. Dry cuticles can lift the acrylic away from the nail, creating gaps where water and bacteria can sneak in.
⦁ Avoid using your nails as tools. Opening cans, scratching labels, or typing aggressively puts unnecessary stress on the acrylic and can cause it to crack or pop off.
⦁ Wear gloves when doing household chores. Prolonged exposure to hot water, soap, and cleaning chemicals weakens the acrylic bond over time.
⦁ Schedule fills every two to three weeks. As your natural nails grow, a gap appears at the base of the acrylic. A fill (also called a refill) covers this gap and keeps your nails looking fresh.
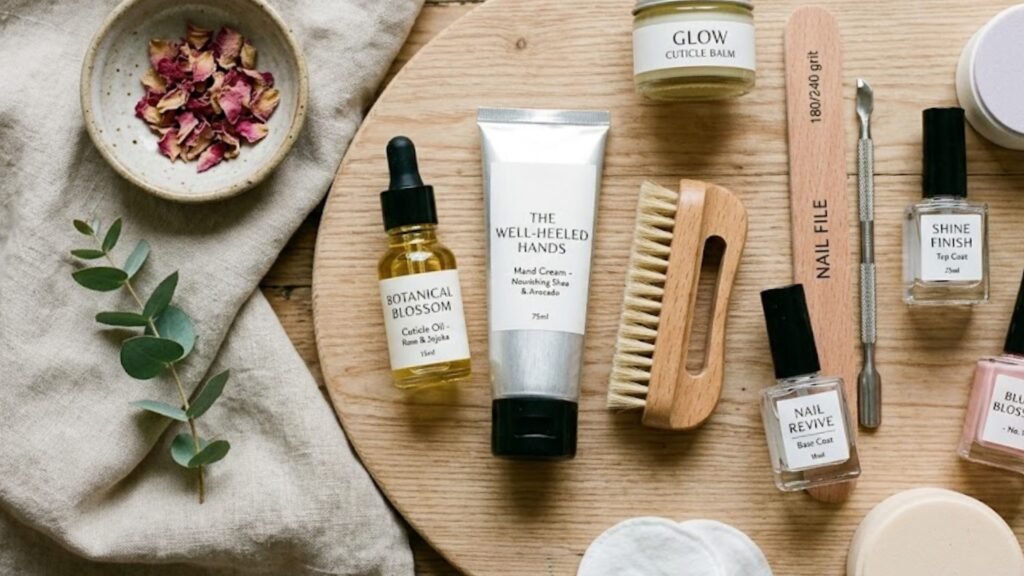
Products That Support Healthy Acrylic Nail Care
Similarly, using the right products keeps your acrylic nail care routine effective. A few essentials worth keeping on hand:
⦁ Cuticle oil (jojoba or vitamin E-based) for daily moisture
⦁ Non-acetone nail polish remover for color touch-ups without damaging the acrylic
⦁ A gentle hand cream applied morning and night
⦁ A soft nail brush to keep under-nail areas clean
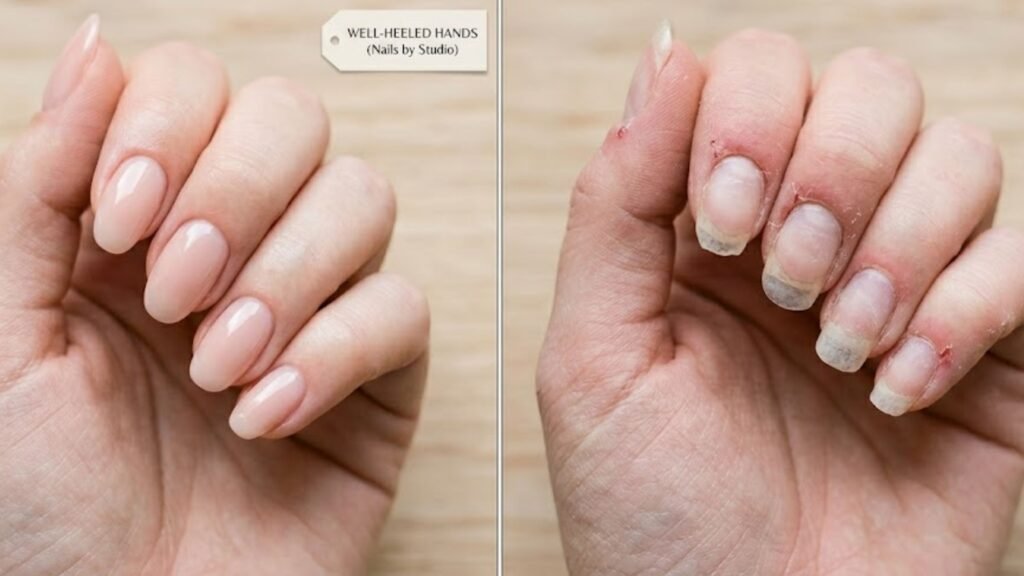
Common Acrylic Nail Mistakes You Need to Avoid
Even with the best intentions, people make avoidable mistakes with their acrylic nails. Consequently, their nails end up damaged, broken, or looking far less polished than expected. Here are the most common culprits.
Picking or Peeling Lifted Nails
When an acrylic nail starts to lift at the edges, the temptation to peel it off is real. However, this is one of the most damaging things you can do. Peeling pulls layers off your natural nail, leaving it thin, weak, and sensitive. Instead, visit your nail technician to have it fixed properly.
Skipping Fill Appointments
Skipping fills might seem like a time or money saver, but it creates real problems. As your natural nail grows, the gap between the acrylic and your cuticle becomes a breeding ground for moisture and bacteria. As a result, you risk developing a fungal infection under the nail. Book your fills consistently.
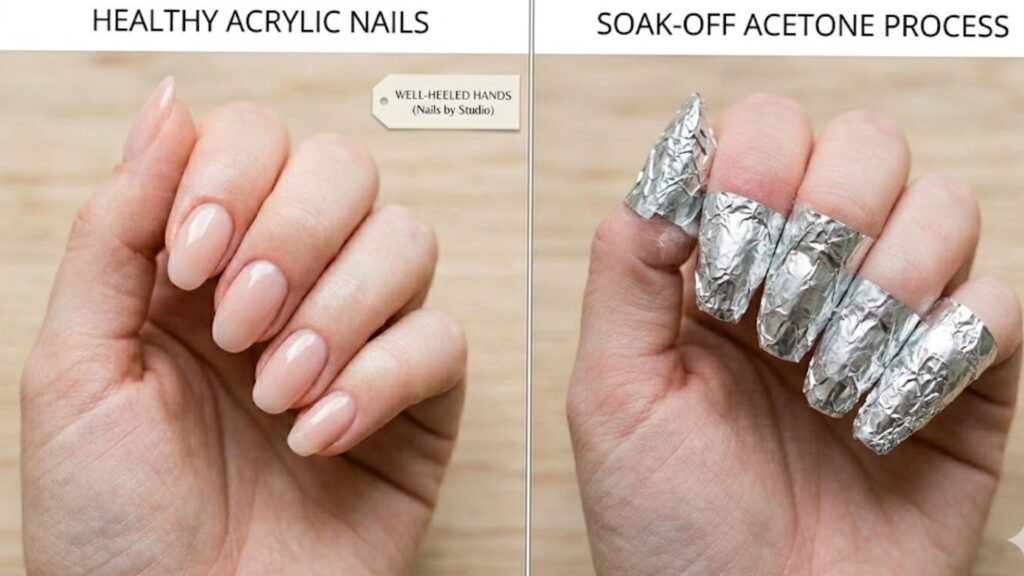
Forcing Off Acrylics at Home
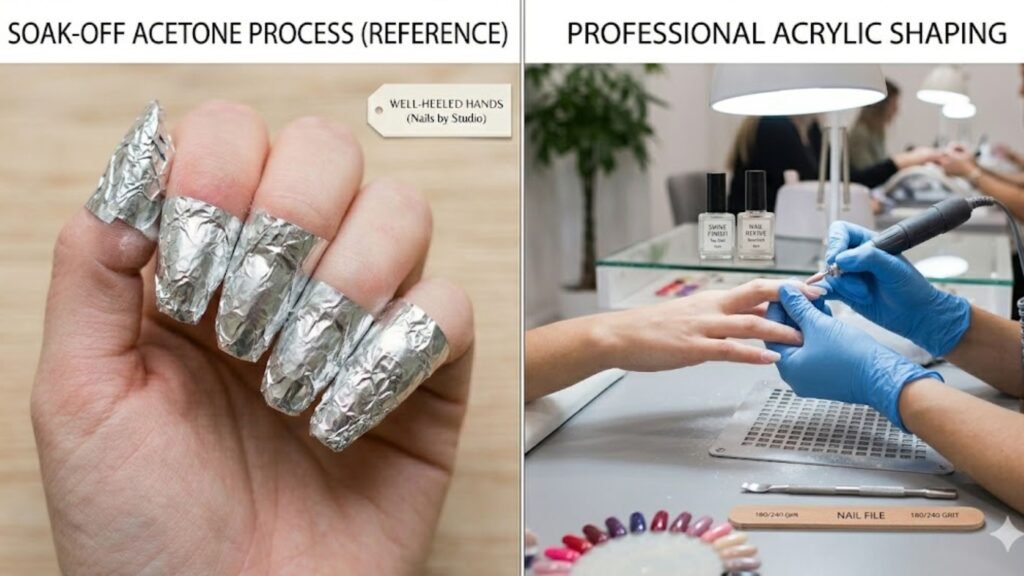
A lot of people try to pop off their acrylics with a wooden stick or just pull them off when they’re ready for a change. This causes serious nail damage. Furthermore, it can take months for your natural nails to recover. Always have acrylics removed by a professional, or soak them off properly with acetone at home using a foil wrap method.
How to Remove Acrylic Nails Safely at Home
If you can’t get to a salon, you can safely remove your acrylics at home. Follow these steps carefully to protect your natural nails.
1. Trim the acrylics as short as possible using nail clippers.
2. Gently file the surface of each nail to break the top seal.
3. Soak cotton pads in 100% pure acetone and place them on each nail.
4. Wrap each finger tightly in aluminum foil and wait 20–30 minutes.
5. Gently push off the softened acrylic with a cuticle pusher. Never scrape hard.
6. Buff away any residue and apply a generous amount of cuticle oil and hand cream.
Expert Recommendations for Stylish, Healthy Acrylic Nails
Professional nail technicians with years of experience share a few consistent pieces of advice. These aren’t just marketing tips, they’re practical, field-tested recommendations.
Always Choose a Reputable Salon
The quality of your stylish acrylic manicures depends heavily on the skill of your technician. Look for salons that use MMA-free acrylic products (MMA, or methyl methacrylate, is a harsh chemical banned in many countries for nail use). A reputable salon will also sanitize their tools between every client.
Give Your Natural Nails Regular Breaks
Most nail experts recommend taking a break from acrylics every three to six months. This gives your natural nails a chance to breathe, regain strength, and recover any thinning that may have occurred. Meanwhile, use a strengthening nail treatment and keep your natural nails moisturized.
Don’t Go Too Long for Your Lifestyle
Super long nails look incredible in photos, but they’re not always practical. Nail technicians often advise clients to choose a length that suits their daily activities. If you type all day or work with your hands, a medium length will serve you far better and is less likely to break.
Pros
⦁ Extremely durable and resistant to daily wear and tear
⦁ Easy to shape into a wide variety of nail styles
⦁ Cost-effective compared to gel in many salons
⦁ Strong enough to support nail art, gems, and designs
⦁ Widely available at most nail salons
Cons
⦁ Can damage natural nails if not applied or removed properly
⦁ Requires regular fills every two to three weeks
⦁ The application process involves strong chemical fumes
⦁ May feel less natural compared to gel nails

Conclusion
Acrylic nails acrylic application gives you the freedom to wear the nail length and style you love without relying on your natural nail growth. They’re tough, versatile, and genuinely beautiful when done well. However, the key to getting the most out of them lies in choosing a skilled technician, maintaining a consistent acrylic nail care routine, and treating your natural nails with respect.
Finally, remember that healthy nails and stylish acrylic manicures aren’t mutually exclusive. With the right habits, the right products, and regular salon visits, you can enjoy long-lasting, gorgeous nails that turn heads wherever you go. Whether you’re a first-timer or an acrylic veteran, taking care of your nails is always worth the effort.
FAQs
Q1: How long do acrylic nails last before they need a fill?
Acrylic nails typically need a fill every two to three weeks as your natural nails grow out from underneath.
Q2: Can I shower and wash my hands normally with acrylic nails on?
Yes, you can shower and wash your hands with acrylics, but you should avoid prolonged soaking in water as it can weaken the bond over time.
Q3: Do acrylic nails damage your real nails?
Acrylics won’t damage your natural nails as long as they are applied and removed correctly by a trained nail technician.
Q4: How do I know if my acrylic nails are lifting?
You’ll notice lifting when the edges of the acrylic start to separate from the natural nail, creating a visible gap or a slight clicking sound when tapped.
Q5: How much does a full set of acrylic nails typically cost?
A full set of acrylic nails generally costs between $30 and $80 depending on the salon, location, and any additional nail art or design work you choose.