
Let’s be honest salon visits add up fast. That’s exactly why so many people now choose to do acrylic nails at home instead of booking expensive appointments every few weeks. The good news is that with the right tools, a little patience, and a solid guide, you can achieve beautiful, long-lasting nails without ever leaving your house. In this article, you’ll find everything you need to get started, from gathering your supplies to applying and maintaining your nails like a seasoned pro.

Why more people are choosing DIY acrylic nails
The shift toward DIY beauty has grown enormously over the past few years. People want to save money, learn new skills, and enjoy the convenience of doing things on their own schedule. Doing acrylic nails at home fits perfectly into that lifestyle.
Additionally, a nail kit for beginners today comes packed with everything you need at a fraction of the salon cost. Once you invest in the starter tools, you can maintain your nails for months with minimal spending. Moreover, you get full creative control over the shape, length, and design of your nails.
Tools you need before you start
Before you apply acrylic nails at home, gathering the right tools makes a huge difference. Walking into this process without proper supplies leads to uneven application, lifting, and frustration. Here’s what you’ll need:
- Acrylic powder and liquid monomer
- Nail tips (plastic extensions)
- Nail glue
- Nail file and buffer (100/180 grit)
- Cuticle pusher
- Dappen dish (for the monomer)
- Kolinsky acrylic brush (size 8 or 10)
- Nail dehydrator and primer
- Top coat
- Lint-free wipes
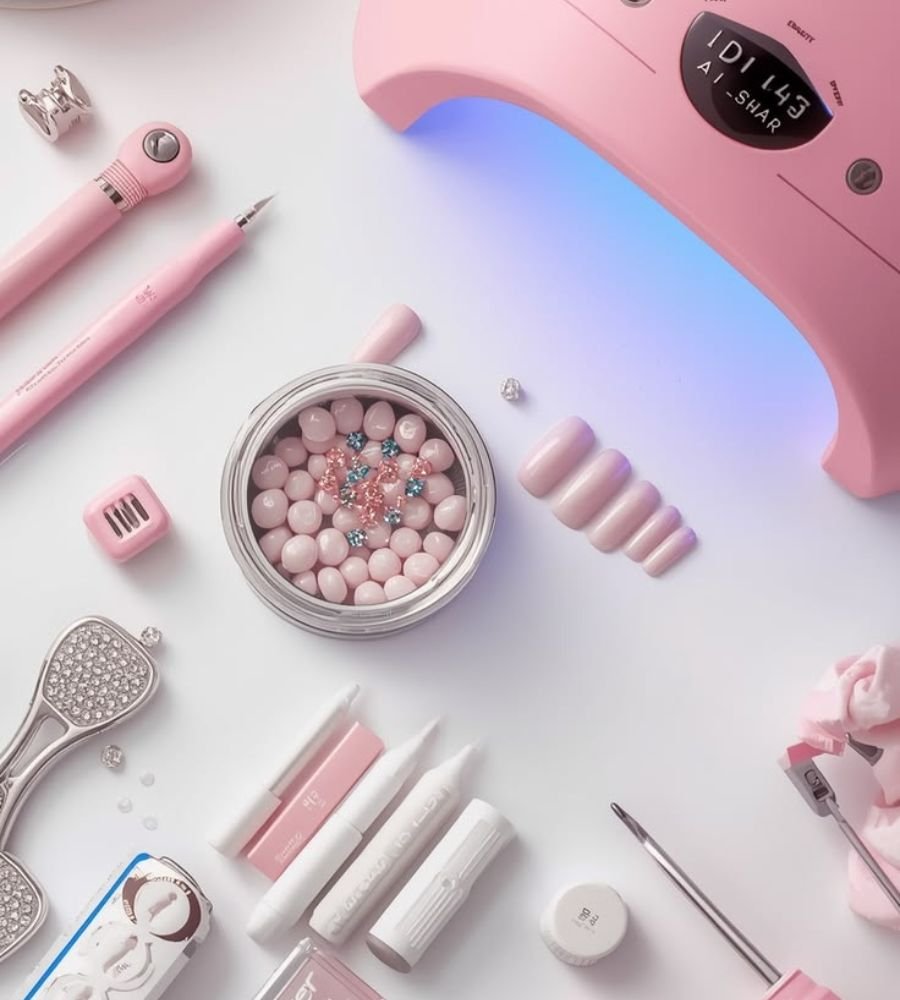
A good nail kit for beginners usually includes most of these items in one box. Therefore, buying a starter bundle saves both time and money when you’re new to the process.
How to prepare your nails properly
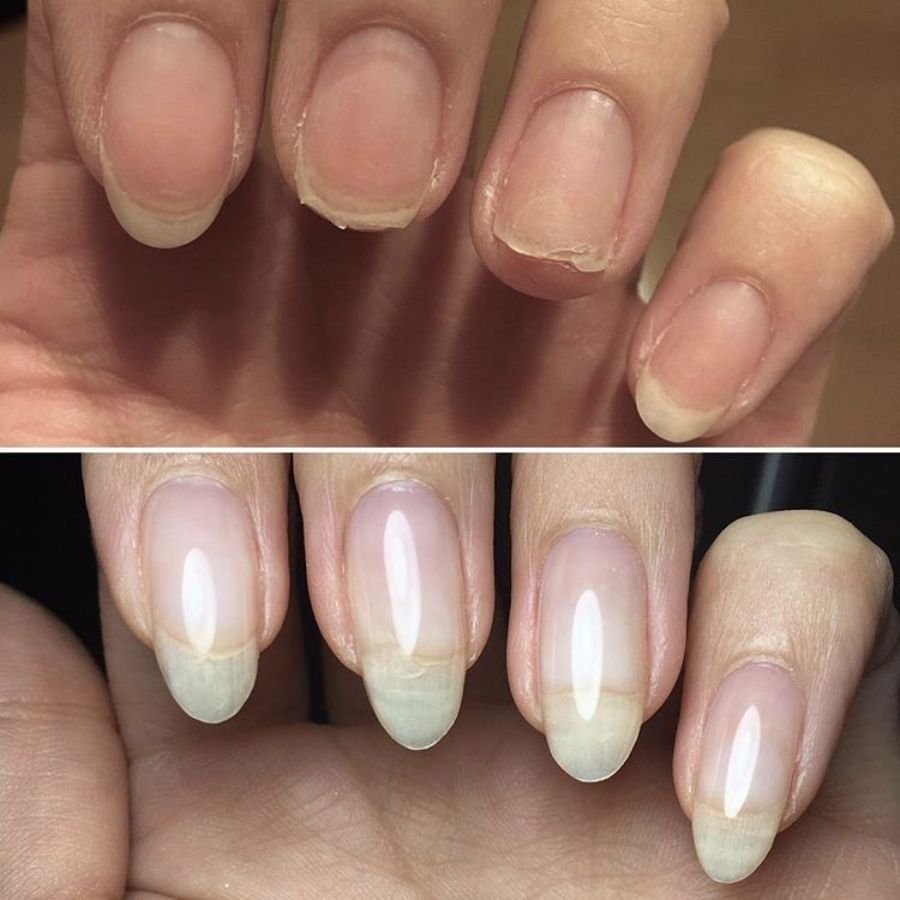
Nail prep is the foundation of a great set. Many beginners skip this step, and that’s exactly why their nails lift within days. Proper nail prep ensures the acrylic bonds tightly to the natural nail surface.
Step-by-step nail prep process
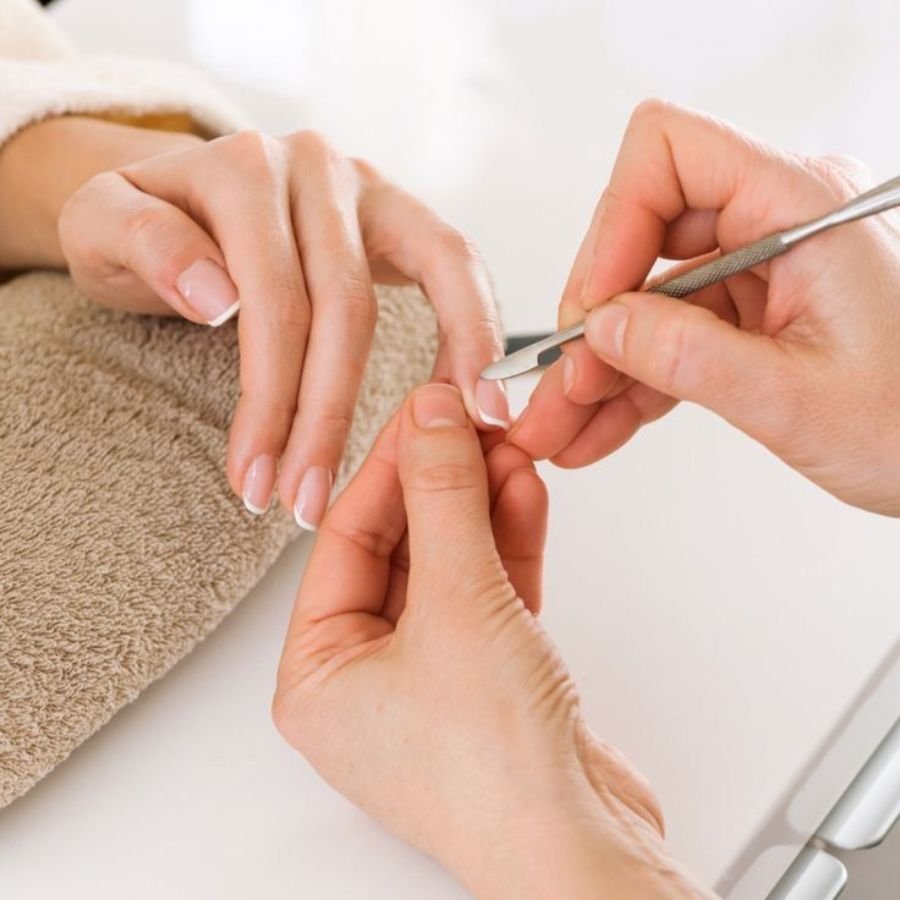
First, remove any old polish from your nails completely. Next, push back your cuticles gently using a cuticle pusher do not cut them. After that, use a 180-grit file to lightly buff the surface of each nail. This roughens the surface so the acrylic adheres better.
Furthermore, apply a nail dehydrator to each nail and let it dry for about 30 seconds. Then, apply a thin layer of nail primer and let it turn from wet to matte. This step is crucial because it dramatically reduces lifting and extends the wear time of your acrylic set.
How to do acrylic nails at home: the full application process
Now comes the exciting part. Follow these steps carefully and take your time rushing through the application process cause lumpy, uneven results.
1
Attach the nail tips. Select nail tips that match the width of each nail. Apply a small drop of nail glue to the tip, press it onto your natural nail at a 45-degree angle, and hold for 5–10 seconds. Trim the tips to your desired length using nail clippers.
2
File the tips into shape. Use your nail file to shape the tips into your preferred style square, oval, coffin, or stiletto. File in one direction to avoid splitting the tip.
3
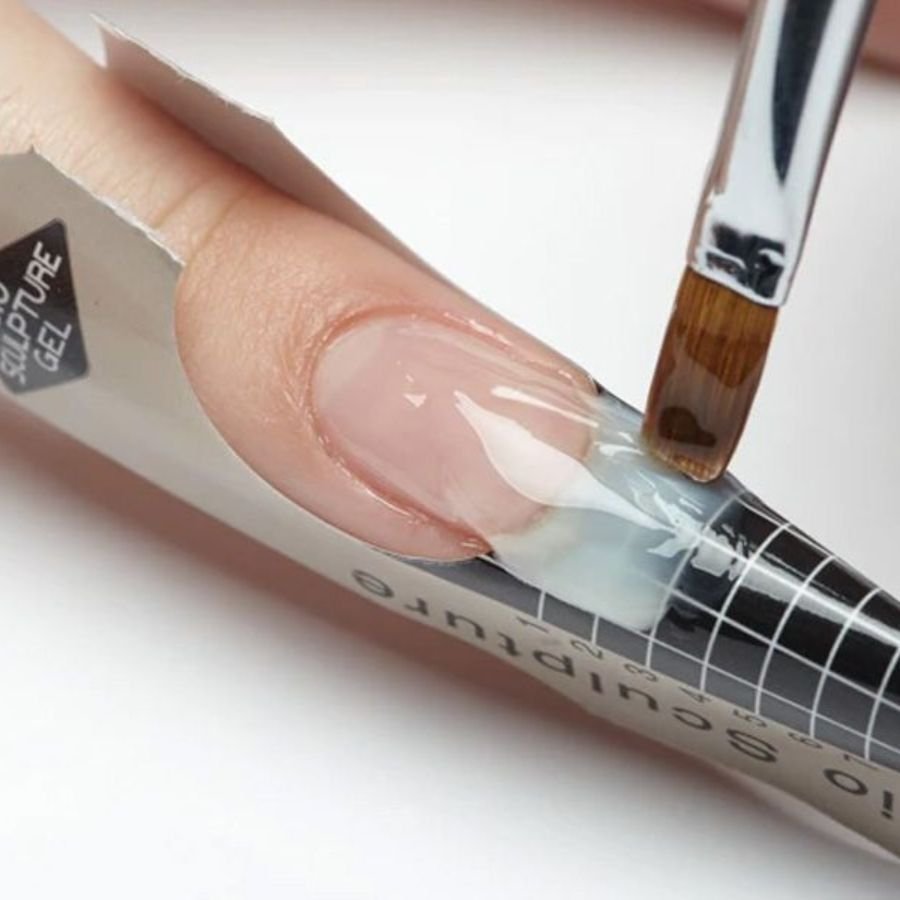
Mix the acrylic bead. Pour a small amount of monomer into your dappen dish. Dip your acrylic brush into the monomer and then touch it to the acrylic powder. A medium-wet bead will form on the brush not too wet, not too dry.
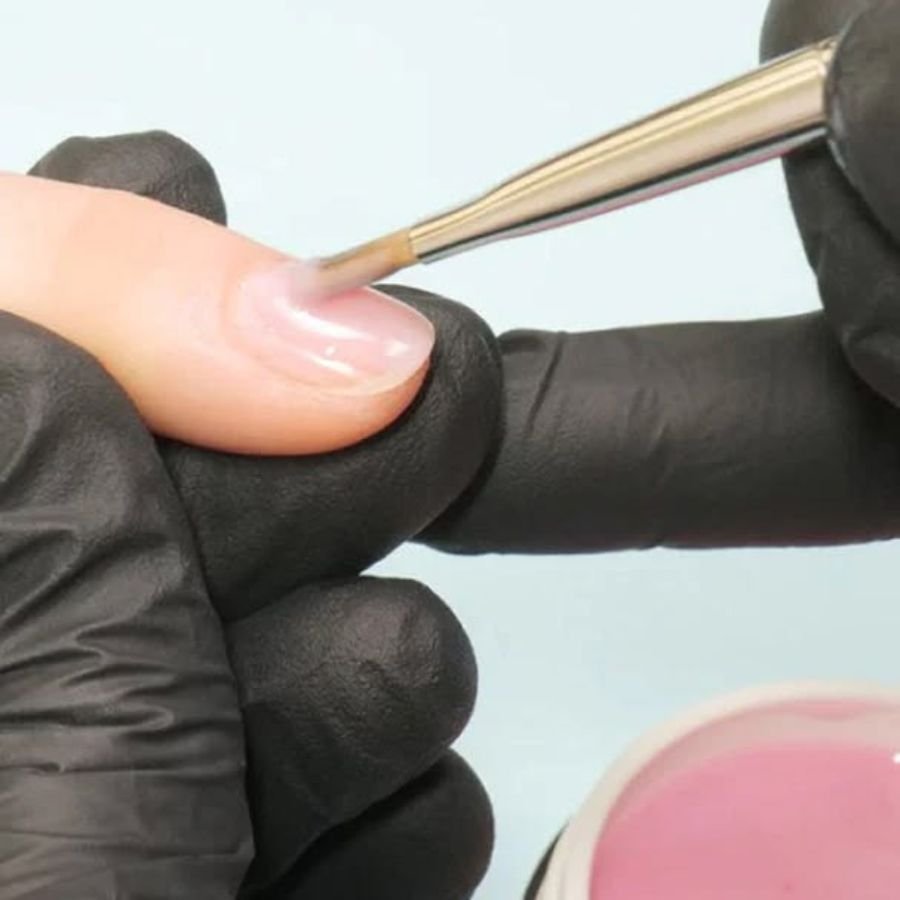
Apply the acrylic to your nails. Place the bead onto the nail, starting near the cuticle area. Gently pat and spread the acrylic toward the tip. Work in three zones: near the cuticle, the middle of the nail, and the tip. Keep the layer thin and even.
5
Let the acrylic set. Give each nail about 2–3 minutes to harden. The acrylic will feel solid and non-flexible when it’s ready. Do not rush this step.
6
File and buff the surface. Once all nails are set, use a 100-grit file to shape and smooth the surface. Then buff with a finer buffer to eliminate any ridges. Wipe away dust with a lint-free wipe.
7
Apply top coat. Finish with a generous layer of top coat for shine and added protection. This also seals the surface and extends the life of your set.
Maintenance tips to keep your acrylic nails looking fresh
Getting a great set is one thing keeping it looking good is another. Fortunately, a few simple habits go a long way in extending the life of your nails.
Daily habits that protect your nails
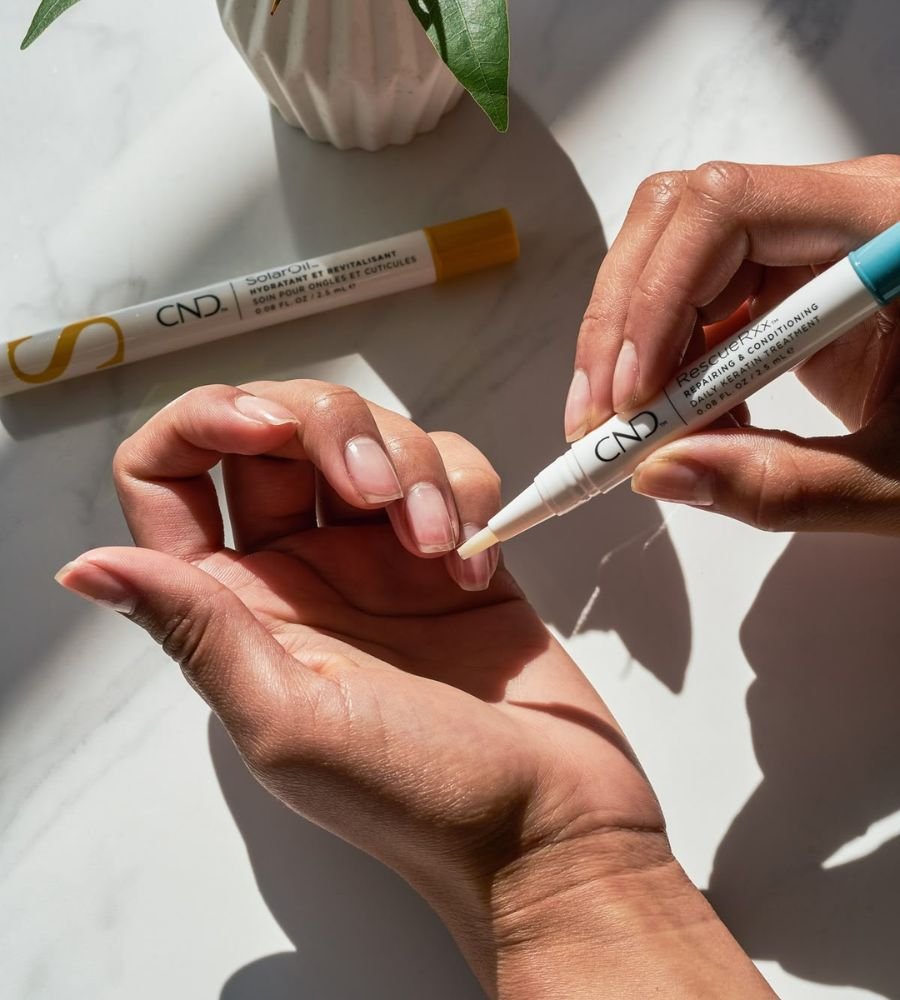
Wear gloves while washing dishes or cleaning with harsh chemicals. Avoid using your nails as tools to open cans or peel off stickers. Additionally, apply cuticle oil around the nail area every night to keep the skin healthy and prevent lifting along the edges.
Moreover, schedule a fill-in every two to three weeks. As your natural nail grows, a gap appears near the cuticle. You can apply fresh acrylic powder and liquid to fill this gap and maintain the look. This process takes much less time than a full new set and keeps your nails neat.
Common mistakes to avoid when doing acrylic nails at home
Even experienced beginners run into problems. However, knowing these mistakes in advance helps you avoid them entirely.
- Skipping the primer: This is the number one reason nails lift prematurely. Always use both a dehydrator and a primer before applying acrylic.
- Using too wet of a bead: A runny bead floods the cuticle area and causes lifting. Aim for a medium-wet consistency.
- Applying acrylic too close to the cuticle: Leave a tiny gap between the acrylic and the cuticle to prevent irritation and lifting.
- Rushing the drying time: Acrylic needs time to cure properly. Moving to the next nail too quickly leads to dents and smudges.
- Peeling off the nails: Removing acrylics by force damages the natural nail severely. Always follow proper acrylic nail removal steps using acetone.
How to safely remove acrylic nails at home
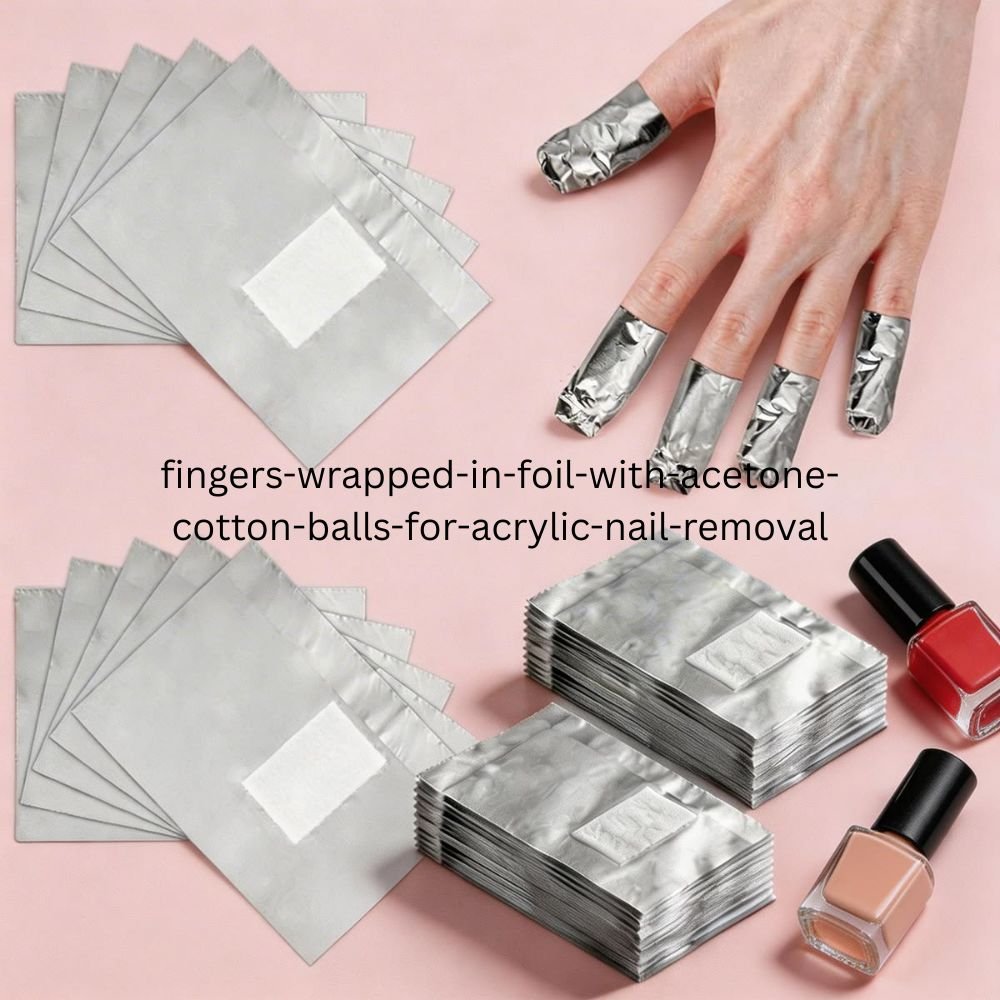
Acrylic nail removal requires patience, but it’s manageable at home. First, clip the nails down as short as possible. Next, file off the shiny top coat from each nail using a coarse file. Then, soak a cotton ball in pure acetone, place it on the nail, and wrap each finger in foil. Let the acetone soak for 20–30 minutes.
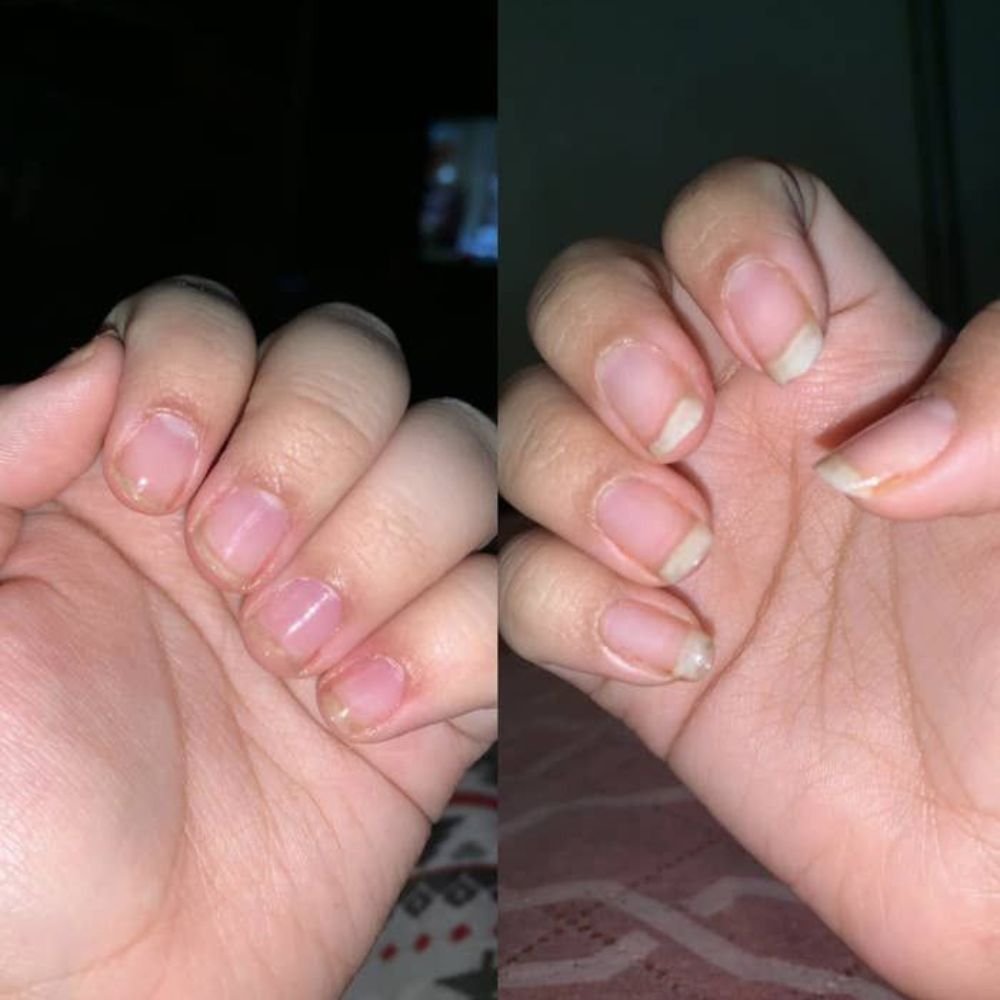
After soaking, gently push the softened acrylic off with a cuticle pusher. If it resists, soak for another 10 minutes rather than forcing it. Finally, apply cuticle oil and a nourishing hand cream to restore moisture to the nails and skin.
Final thoughts on doing acrylic nails at home
Mastering acrylic nails at home takes a bit of practice, but the process becomes easier and faster with every set you do. Start with the right tools, follow the prep steps carefully, and take your time during application. As a result, you’ll save hundreds of dollars a year while enjoying beautiful, salon-quality nails on your own schedule.
In addition, don’t feel discouraged if your first set isn’t perfect everyone starts somewhere. The skills you build doing acrylic nails at home pay off enormously over time. So set up your workspace, gather your supplies, and enjoy the process.
Frequently asked questions
How long do acrylic nails at home last?
With proper prep and care, a home acrylic set typically lasts two to three weeks before needing a fill.
What acrylic powder and liquid brand works best for beginners?
Mia Secret and Modelones are two beginner-friendly brands that offer consistent results and affordable starter kits.
Can I do acrylic nails at home without nail tips?
Yes, you can use nail forms instead of tips to build a free-edge extension directly over your natural nail.
Is acrylic nail removal painful?
Acetone-based removal is painless as long as you soak long enough and avoid forcing the acrylic off.
Do I need a UV lamp for acrylic nails?
No unlike gel nails, acrylic nails air-dry and harden on their own without any lamp.